How we installed our van ceiling
“A mistake is simply another way of doing something”
Installing the ceiling in our van was a little bit complicated. Or a lot complicated really.

The ceiling in our van - a work in progress
Here’s how it went..
Ceiling options In A van
There are so many different options for the ceiling in a van.
Here’s a few we considered:
Plywood
Fancy plywood (aka Birch or Tas oak veneer plywood)
Pine lining board
Shiplap
Slatting/Tambour
Aluminium Composite Material (ACM)
Composite cladding
Quickboard
Thermolite
Fibreglass
Fabrics and materials, like cork or vinyl
There are lots of other creative solutions, including driftwood, tapestry, and even corrugated iron. The options are limitless!
We were close to choosing a slatted wood ceiling.
But I feared spiders making a home between the slats.
(I’d love to know if this actually happens, or if it’s just an irrational fear. Spiders are great, but just not at that proximity).
Close behind this was plywood or ACM due to the ease of installation, however we decided against these because once they get damaged they are hard or even impossible to restore (especially the ACM).
Our ceiling choice
So, we ended up choosing rescued timber.
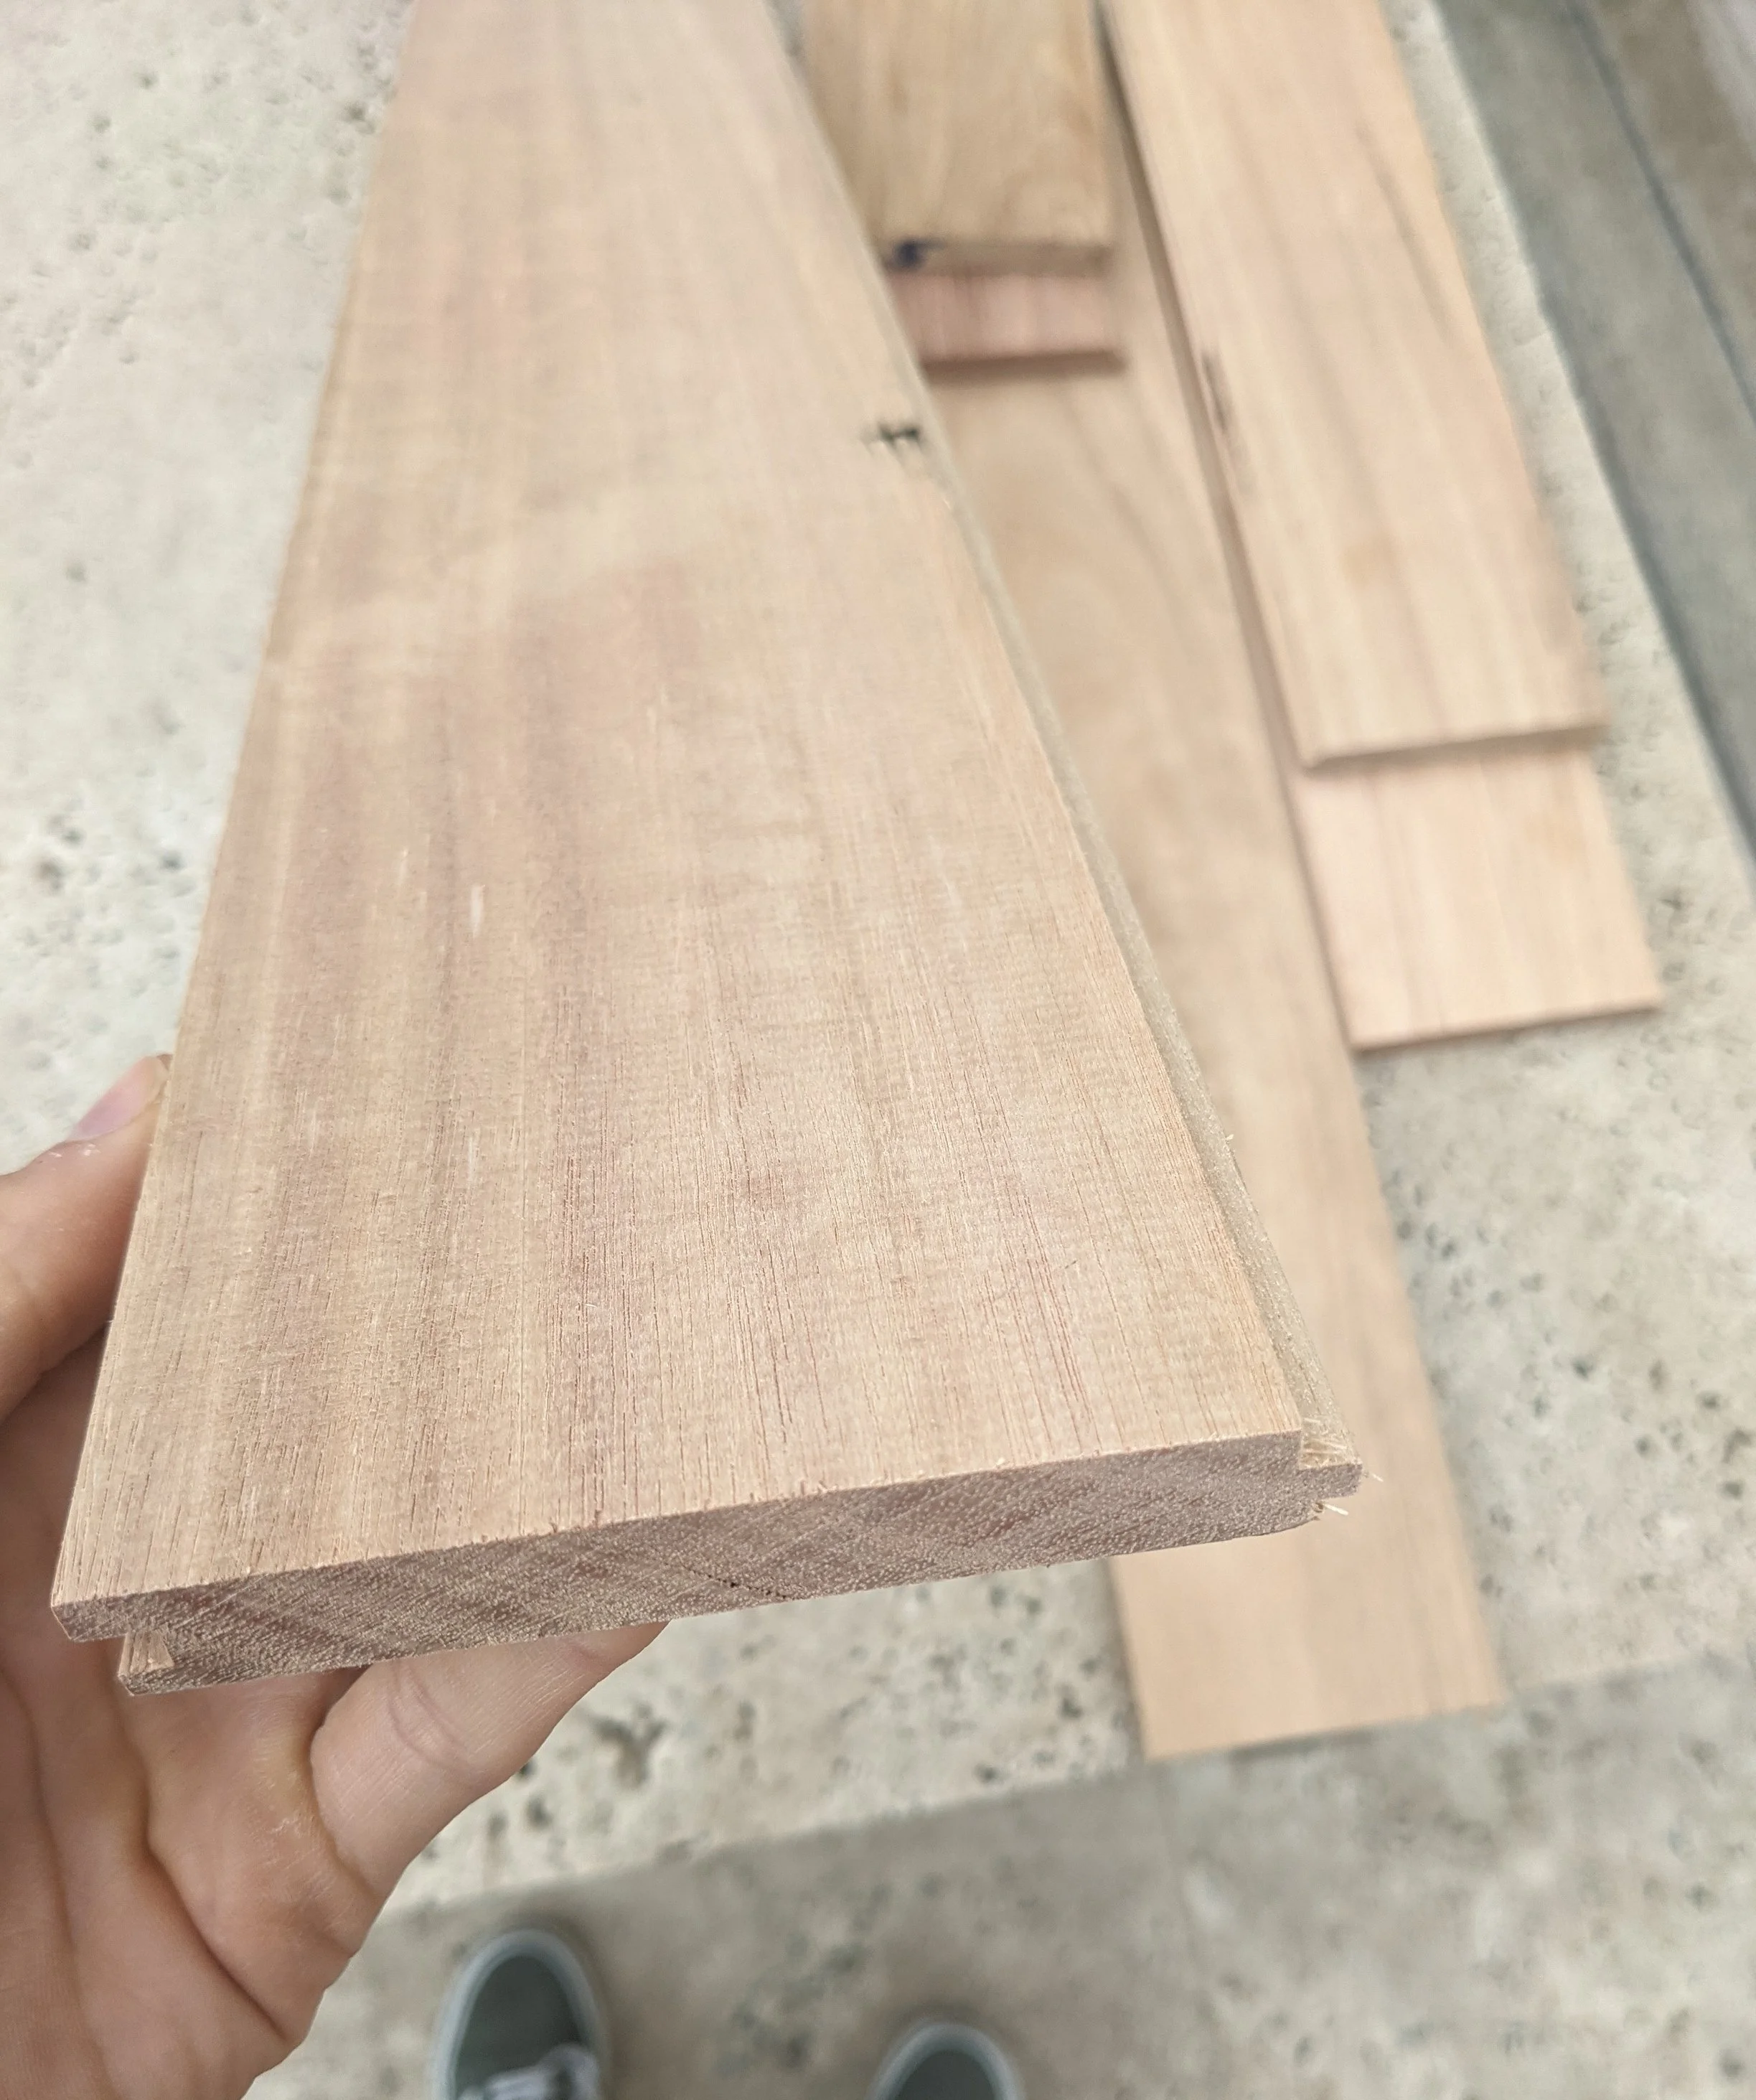
Our recycled timber lining board
We always wanted to incorporate recycled elements into the van build.
We decided to go with rescued timber lining board from Urban Salvage in Spotswood. Apparently, our timber is from the big wooden beams of old houses, which have been redressed and cut to size!
It’s messmate (also known as stringybark or Tasmanian Oak) and has a beautiful grain and colouring, probably my most favourite type of wood. And it still has the old nail holes and imperfections from its previous life in a house!
It’s important to note recycled timber isn’t always eco-friendly.
The entire timber process involves a lot of expensive energy-intensive manufacturing and trucking kilometers, and recycled timber is not immune to this.
But, there are many environmental advantages of recycled timber: repurposing old materials that would otherwise be thrown away, it’s local (so less transport), it’s quality so it will last and last, and you don’t having to buy something new.
Using timber in a van
As with anything, there are pros and cons to using timber in the van:
Pros of using timber in a van
Readily available in different styles and lengths
Relatively flexible and easy to work with
Natural vibe with unmatched visual appeal
No awkward seams, unlike plywood or ACM
Can be maintained and refinished easily
Lasts a long time
Cons of using timber in a van
Costs a bit more than other options, especially if using recycled hardwood
Weighs a bit more than other options, such as ACM or other composite materials
Decent amount of cutting and drilling required
Can be affected by changes in the climate
But, despite the cons, we figured it’s going to be a feature in the van and it will hopefully last as long as the van lasts. We also couldn’t get past the natural feel, history, and quality.
Installing the ceiling in our van
So, we got to installing it in our van.
But here’s where it gets a bit complicated. But that’s building a van, right?
Not everyone is going to like this.
But we installed the ceiling before the electrical, fan, and insulation. Eek.
It was for a good reason!
We were at a standstill. Facing long delays for our electrical to get installed – potentially up to 4 months, or even longer.
We were stuck:
We couldn’t install the fan until we finalised the placement of the electricals and solar panels.
We couldn’t install the insulation until we knew where the electrical was going.
And we couldn’t build our cabinets because we didn’t know the final height and curvature of the ceiling.
So, we figured if we installed the ceiling, we could keep progressing with the build whilst we waited for the electrical. And we could always uninstall part or all of the ceiling when it came time to do the electrical and fan. Which is a pain, but at least the ceiling would be done and ready to go.
It’s a bit overcomplicated really, and definitely not ideal. But it was a way forward.
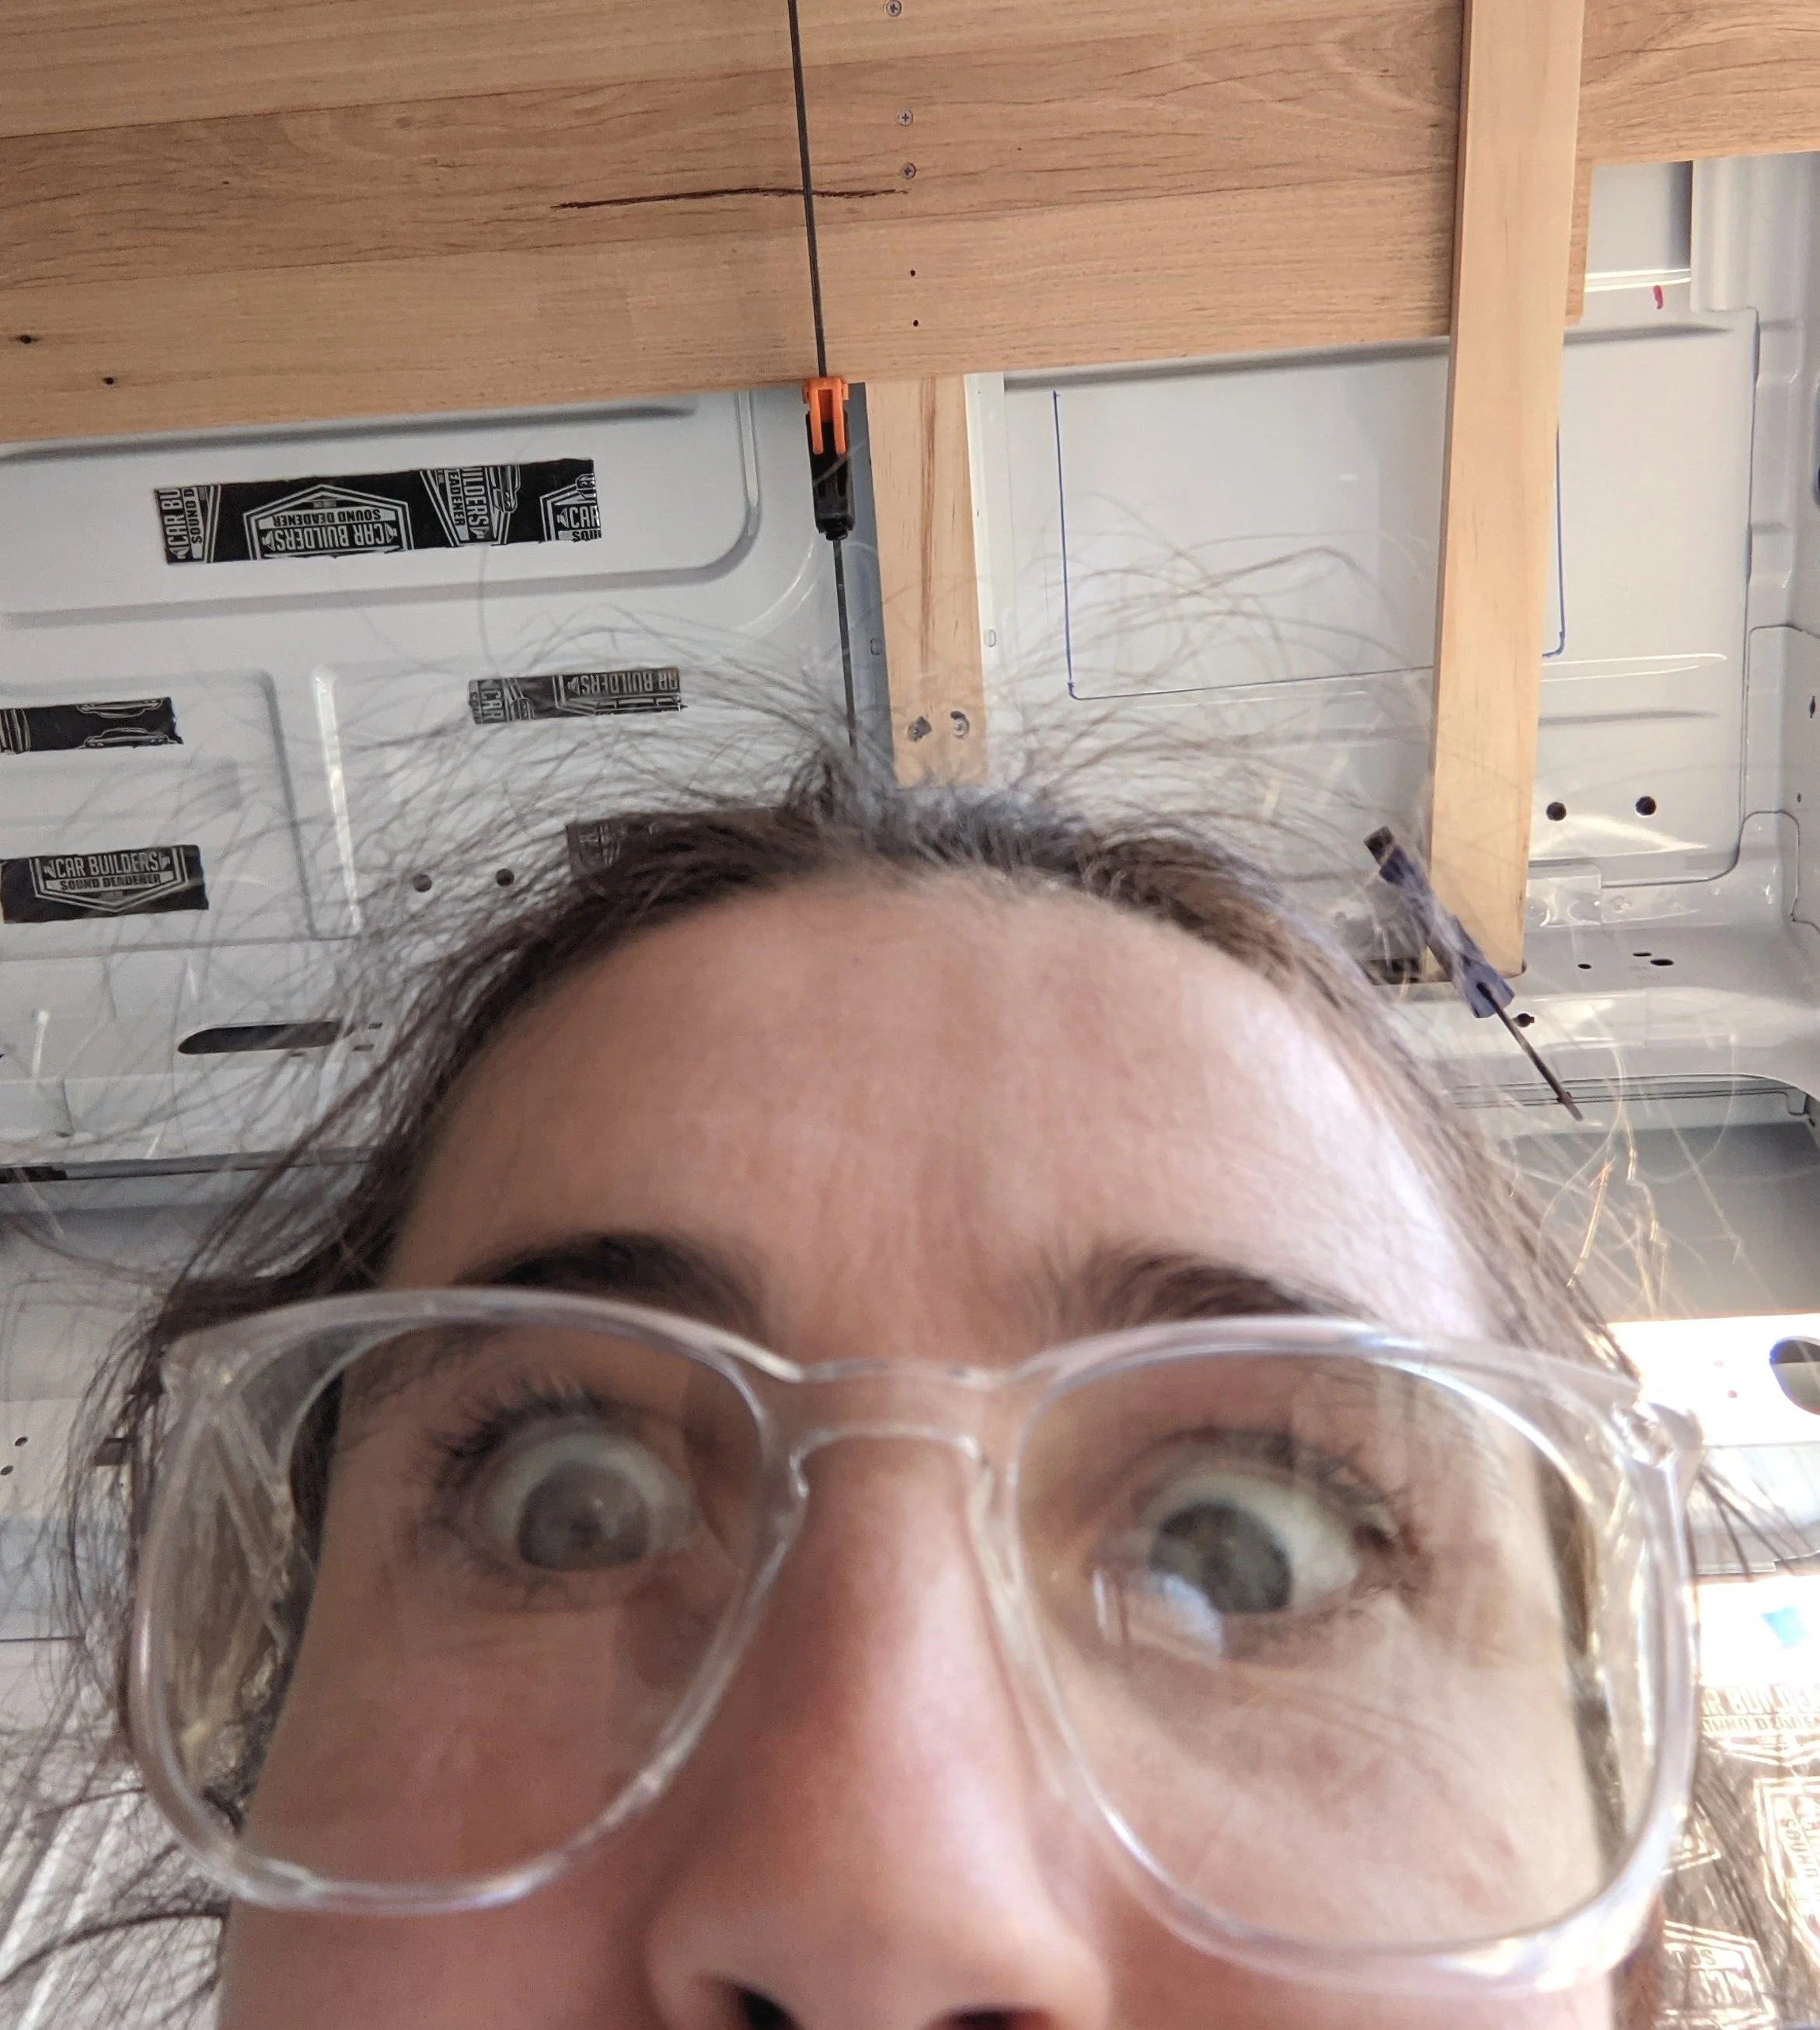
It hurts your head a little thinking about how complicated it got
I still want to outline how we did it, because I think it’s important to share all the unconventional SOlutions when faced with a problem!
How we installed Our Van Ceiling
Materials
12x planks 90x12mm tongue and groove boards (which we cut to 3.04m)
60x M6 steel rivnuts (more on our rivnuts here)
45x 25x6mm bolts (note, we didn’t need 100)
Drill and drill bits (including 8.9mm drill bit for the rivnuts)
Lots of tools (drop saw, jigsaw, hacksaw, hammer, too many to list).
Safety gear
Clamps (in different lengths)
Drop sheet
Metal paint
Limewash paint (for a washed finishing look)
Osmo oil (for sealing)
Trim (TBD)

Some of the tools we needed to install the ceiling in the van
Planning
Because vans aren’t square obviously, we spent a lot of time discussing how the planks would fit.
Some considerations we made included how the planks would fit under the bulkhead (whilst still allowing for that space to be useable), how it would finish at the rear door, and the curvature of the timber boards.
Based on the plan at this point, we realised we needed a 19x42mm plank on the third van rib to help the timber planks fit well to the end point at the rear doors (which we installed with rivnuts).
When we finalised our plan, we were ready for the install.
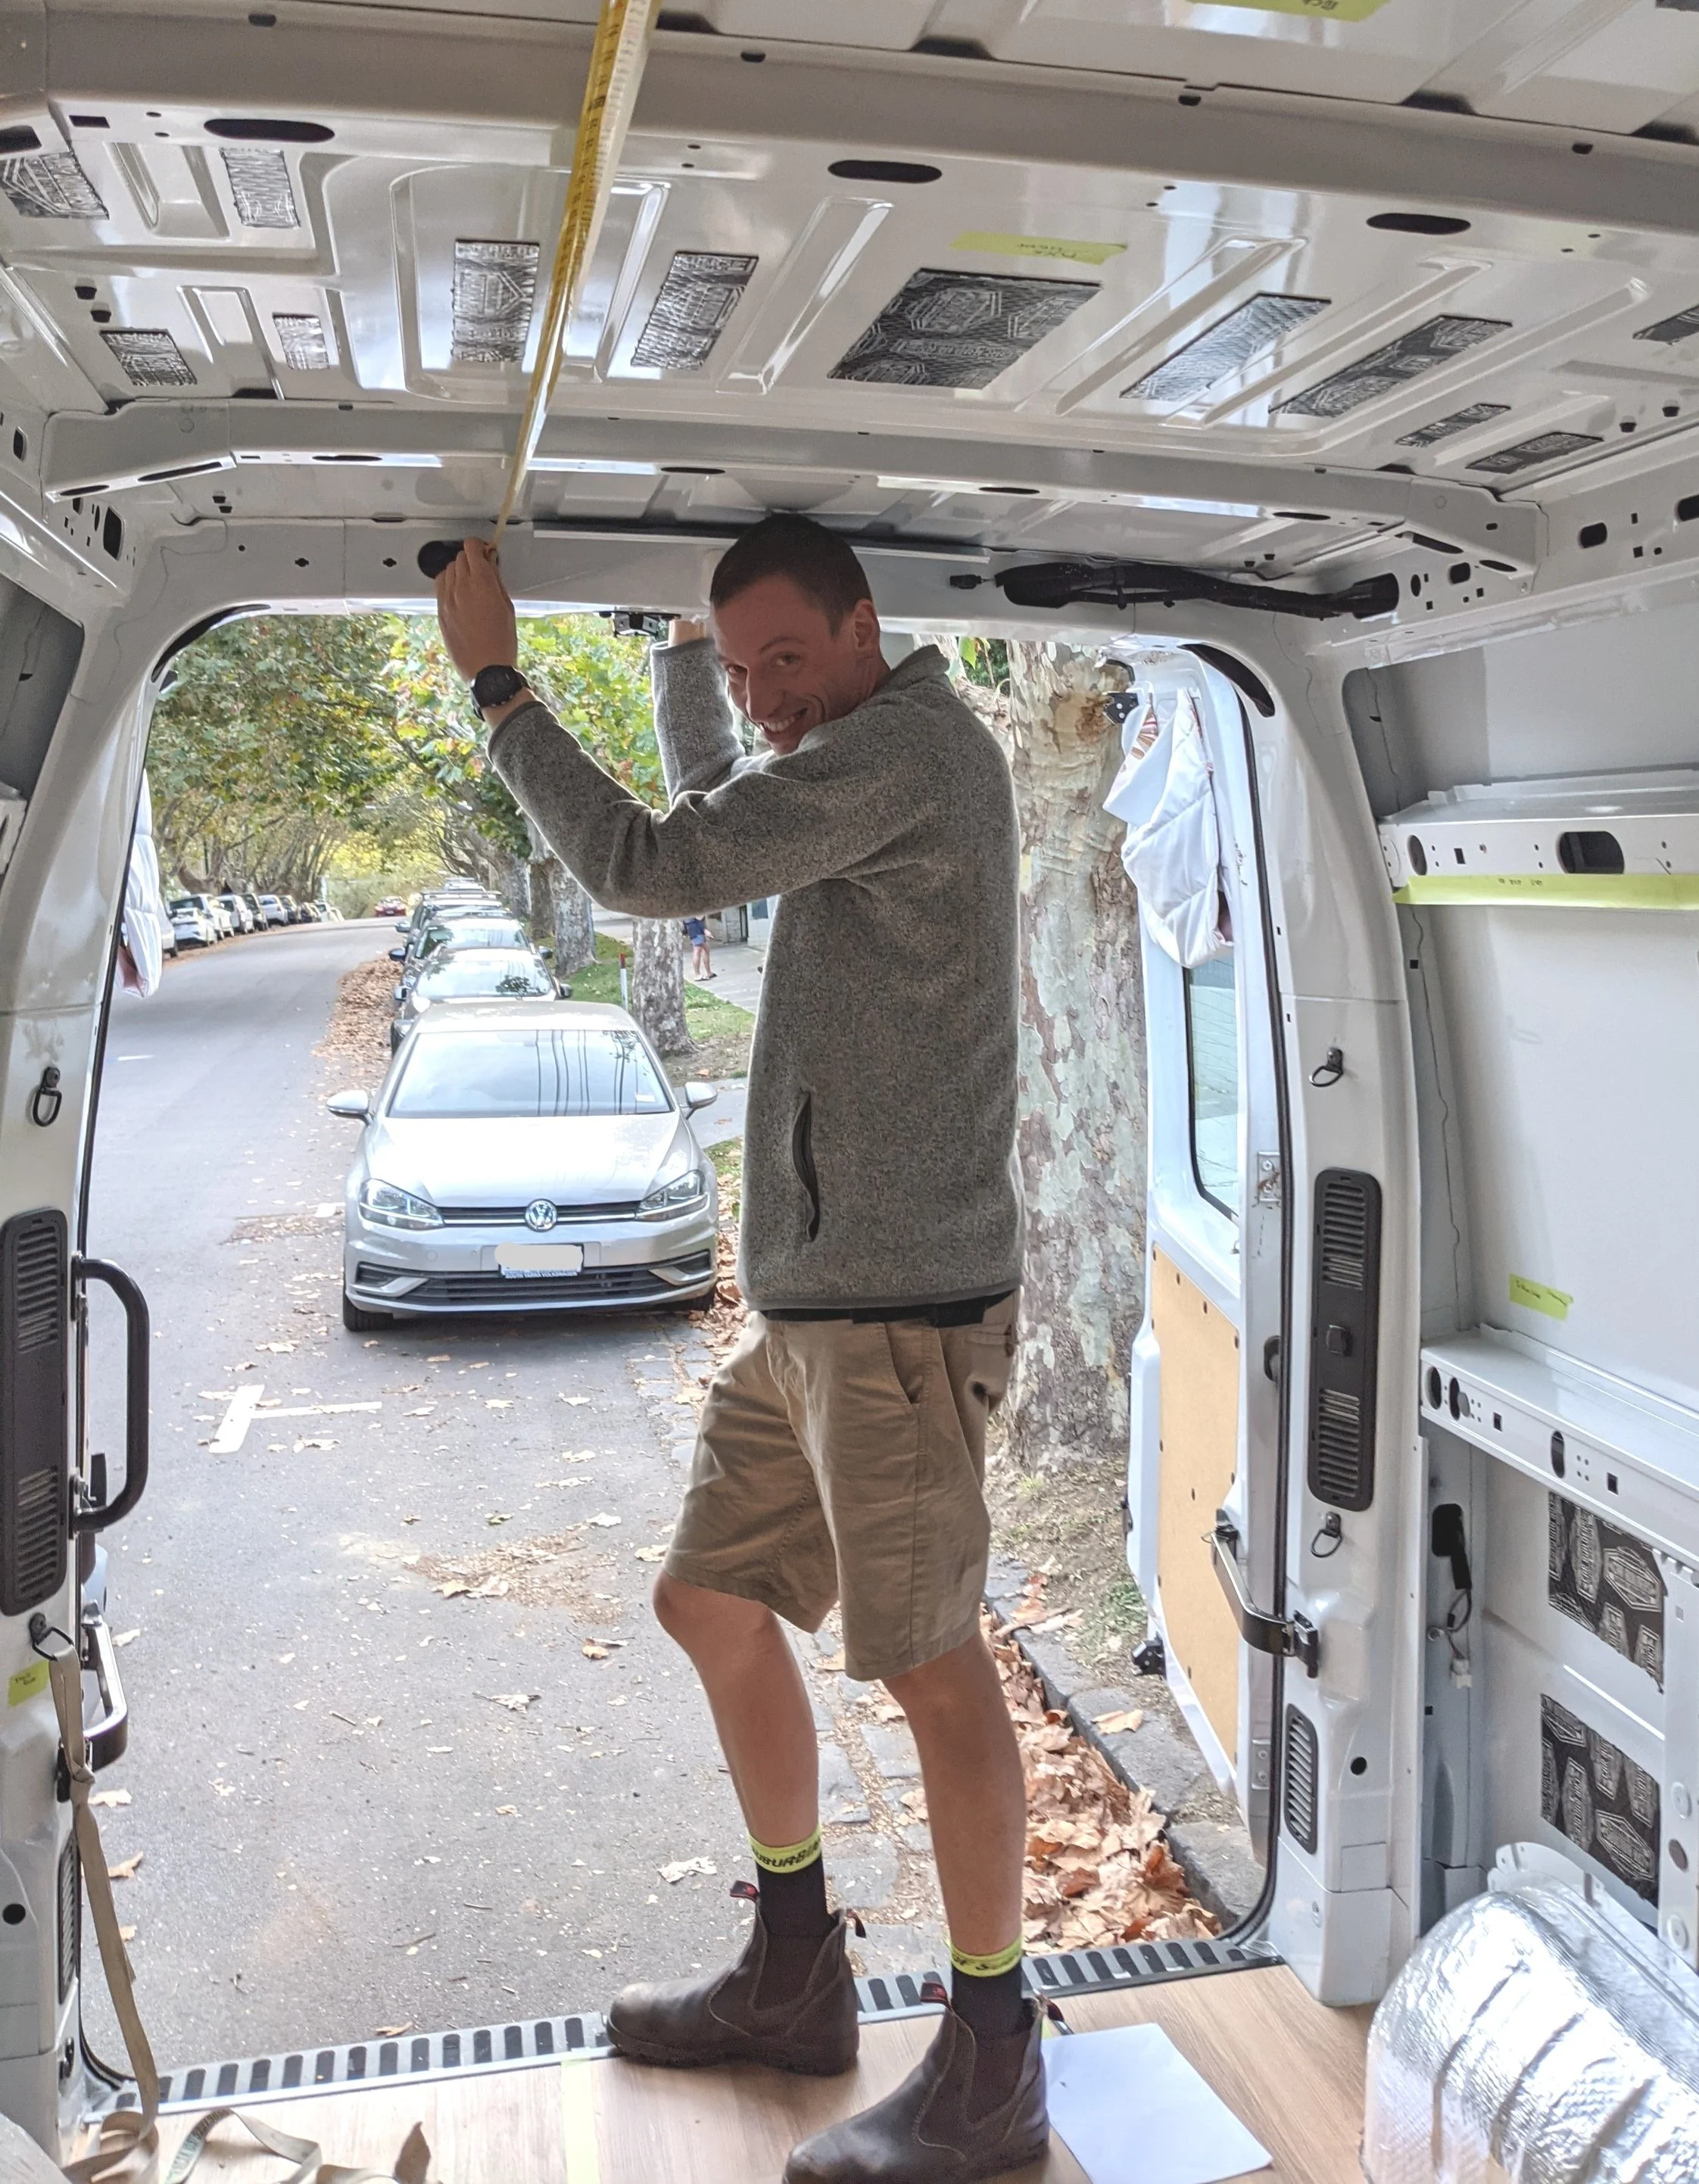
A bit of planning was required to work out the best way to install the timber
Mapping out the planks
Mum and I spent a bit of time plotting out the order of the planks to ensure there was a mixture of colour, patterning, and character (like from the old nail holes).

Mapping out the order of the timber planks
Template
Once everything was ready to go, we decided to make a template
100% credit to my dad for this idea – it saved a lot of time/frustration (although, there was still plenty of that).
As we decided to install rivnuts directly into the ribs of the van, we wanted to be able to see where to drill the rivnuts (because there were a lot of factory holes and gaps), and get an accurate line up with the timber boards.
So we made a template.
To make our template, we got a 90x12mm pine board and drilled ‘windows’ that would line up with the drill points in the van ribs.
We installed a plexiglass over this ‘window’ so that we could draw the drill points.
Some people prefer installing framing on the ceiling, so there are less holes in the van. But we wanted to preserve as much height as possible and wanted a secure fit, so we decided to install the rivnuts directly.


The template that allowed us to see where we were drilling through these “windows”
Using the Template
Once the template was created, we lined it up where the 1st board would go.
Because we could see the van rib through the window of the template, we were able to accurately draw the drill points for the rivnuts.
Transferring the template
We transferred the template onto the1st timber board, drilling 3.5mm holes at each drill point
Transferring the template onto the timber
Pre-installing the timber
We then temporarily installed the timber to the ceiling
This helped ensure we got sharp alignment between the timber and the hole in the van rib for the rivnut
Countersinking the timber
We uninstalled the timber
Then we drilled the holes in the timber out to 6mm (which is the size required for the bolts that fit our rivnuts we had).
Because a few of our rivnuts failed, we ended up drilling bigger holes in the timber (out to 7mm, or even wider in some cases) to reduce the resistance of the wood on the bolt, and therefore reduce the risk of spinning the rivnut
We then countersunk each hole in the timber
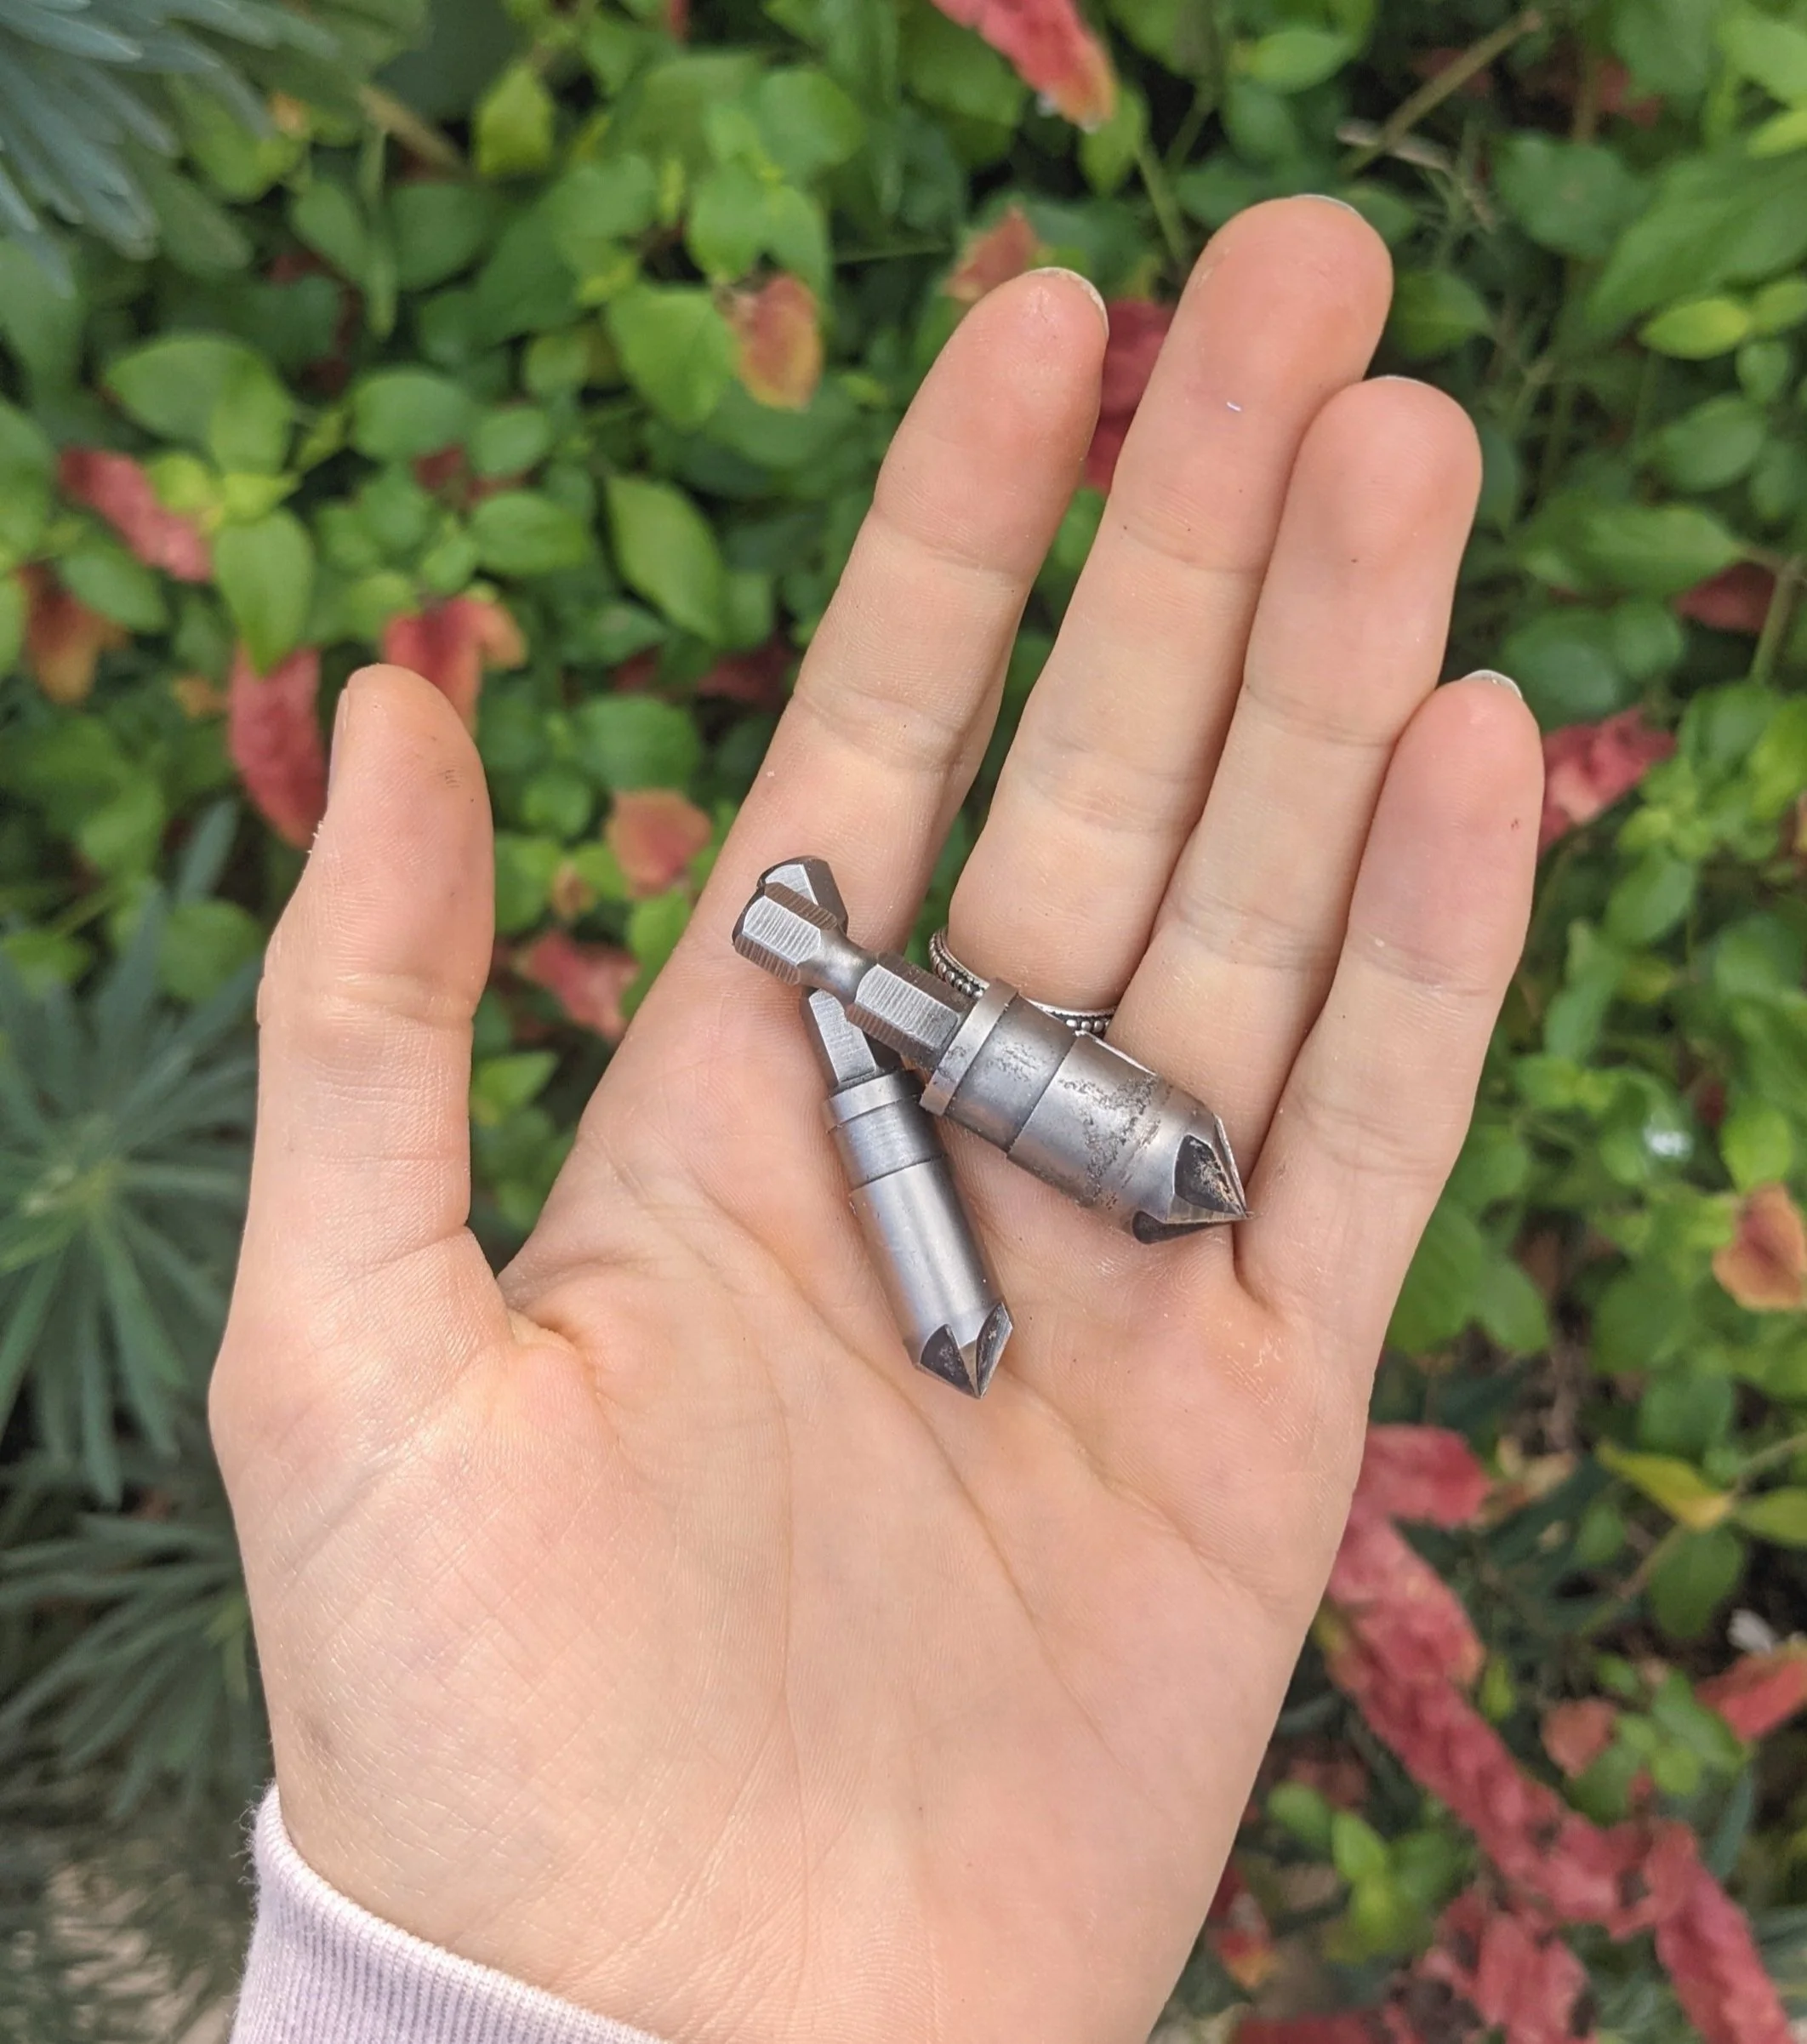
The countersink drill bits
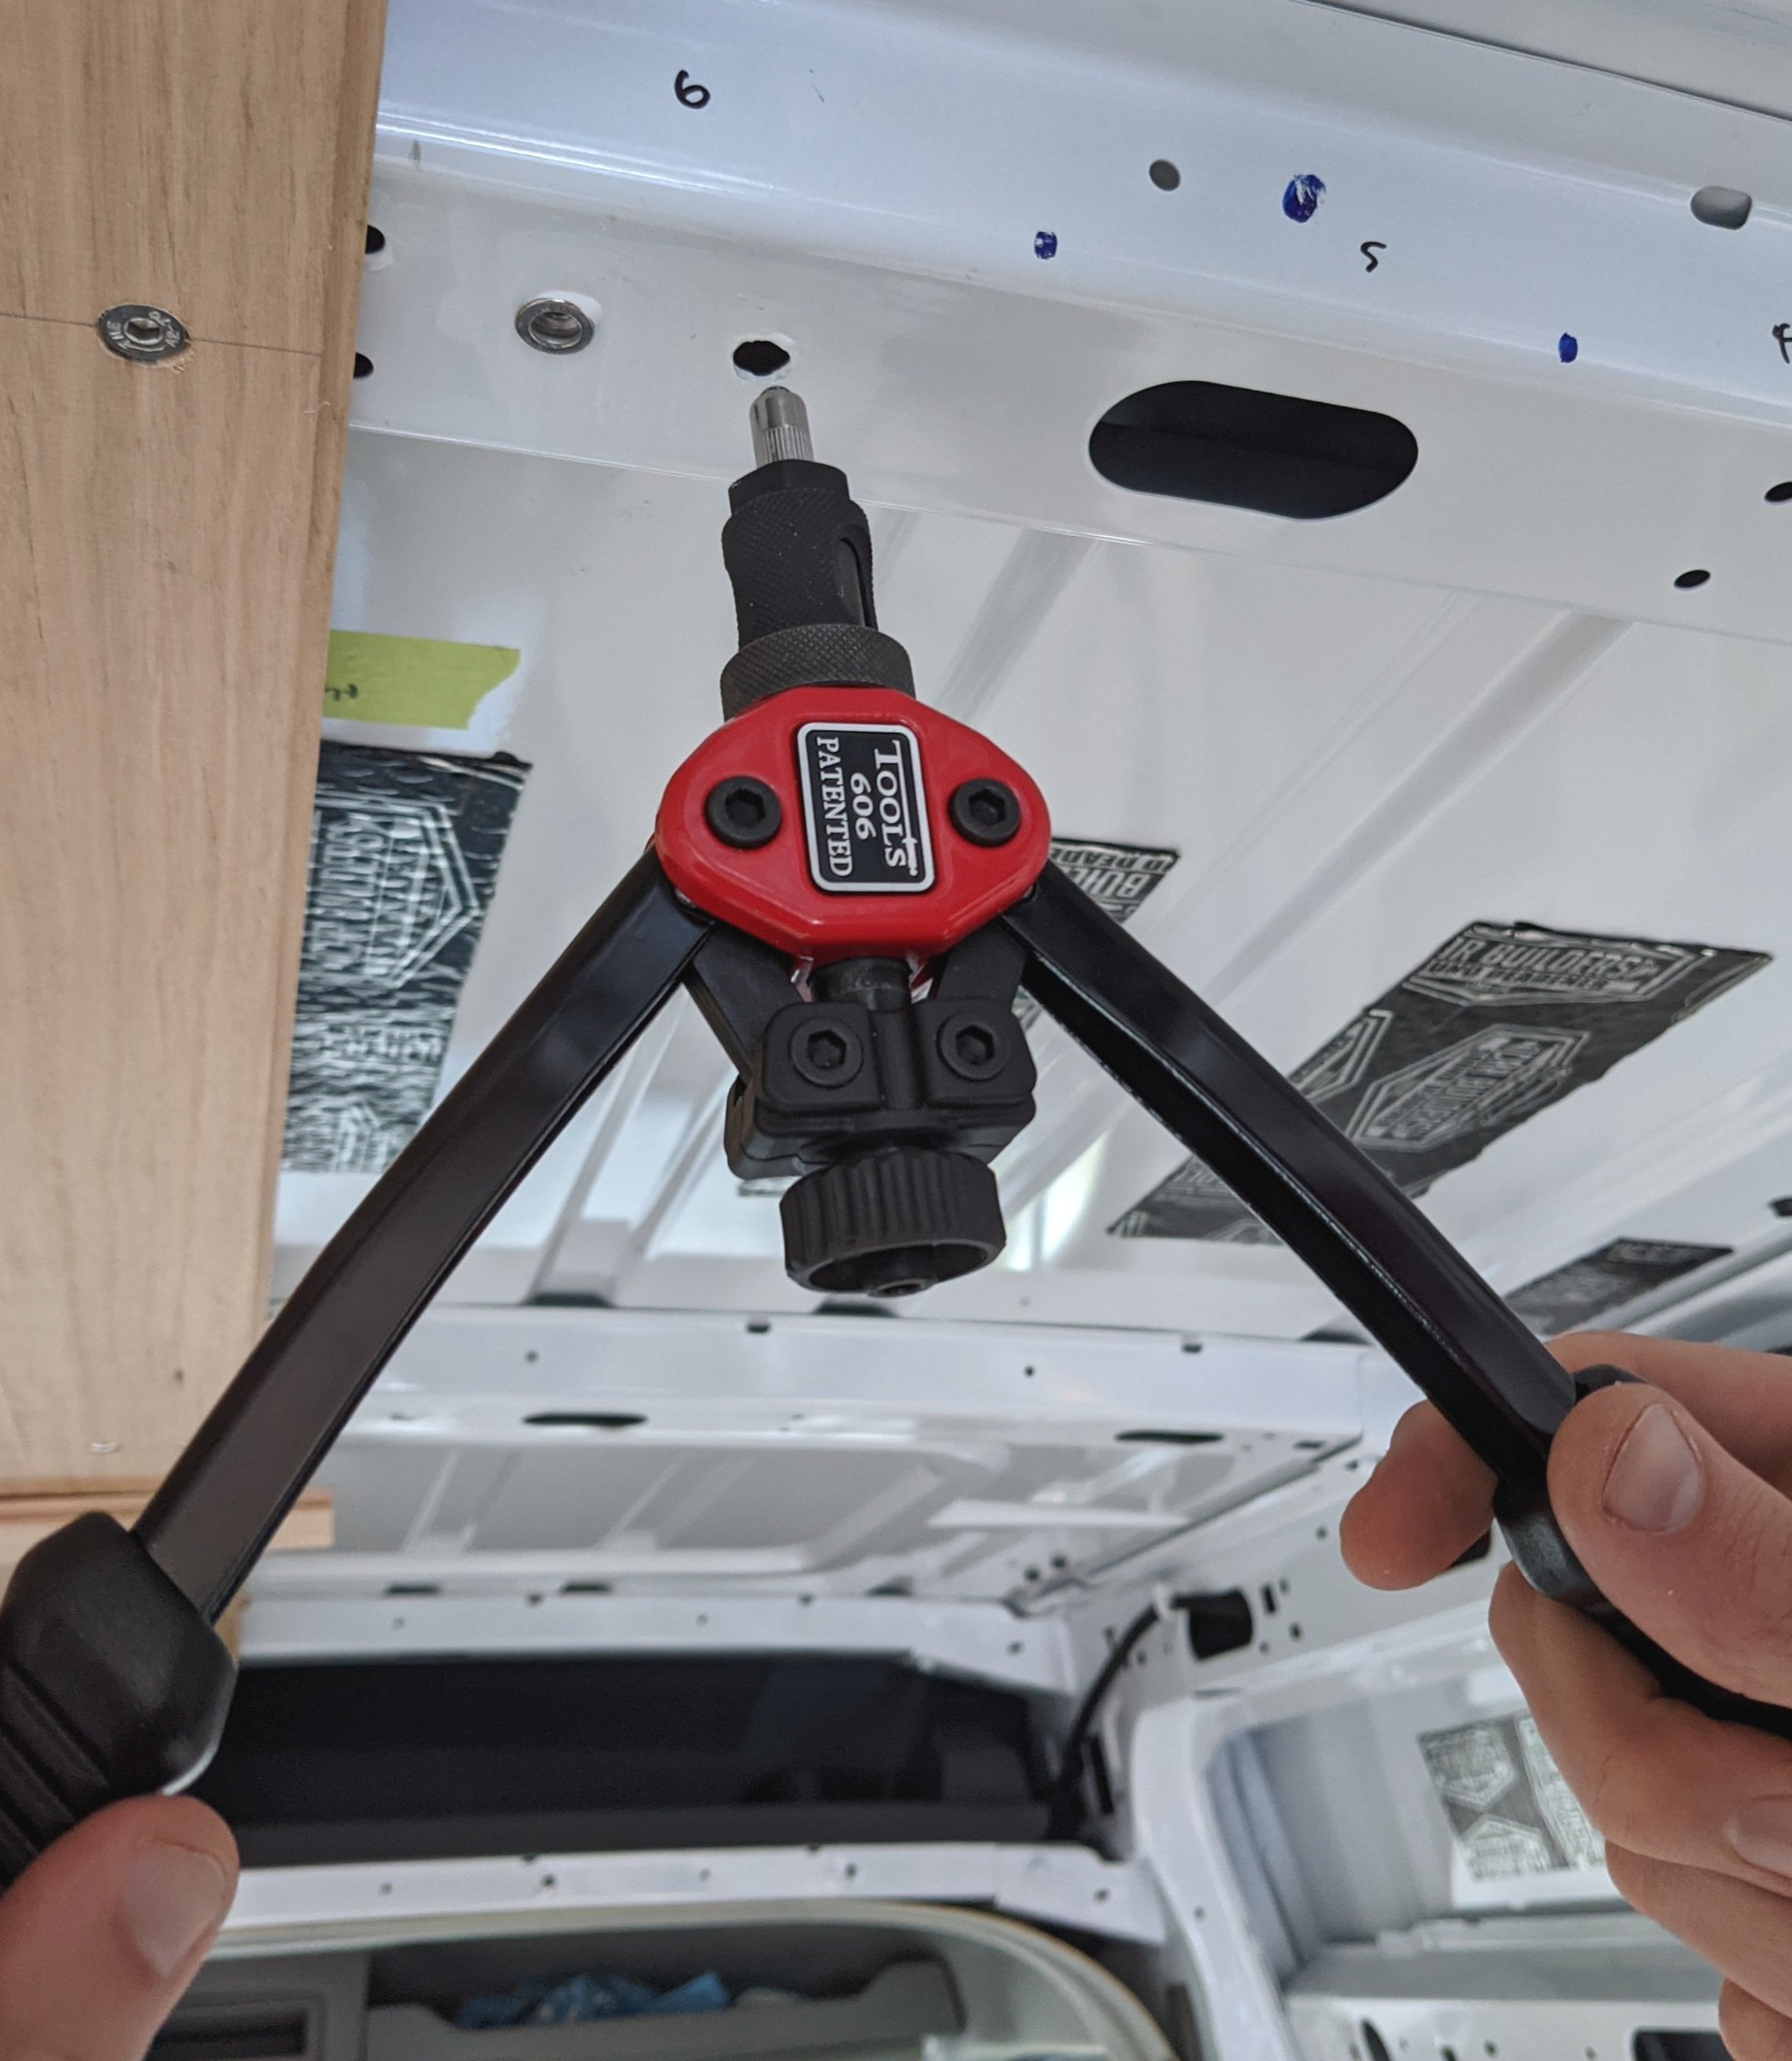
Installing the rivnuts
To install the rivnuts, we got our safety gear on and drilled out the holes in the van ribs to 9mm (the size required for our M6 rivnuts).
Tip: We used a homemade drill bit stopper to ensure the drill didn’t go through the roof!
We used the rivnut tool to install each rivnut
Installing the rivnuts was, by far, the most time-consuming and frustrating part of the process (especially because we had a few fail – more on that here).
Just to note, we actually didn’t use rivnuts in two places, and used screws instead: 1. At the bulkhead end where the rivnut tool wouldn’t be able to fit (we actually ended up needed a 90 degree angle drill bit to drill the screws in), and 2. At the 3rd rib where we had installed a piece of wooden framing (although the framing was installed with rivnuts).

Drilling the hole for the rivnut (with a wooden stopper so we didn’t drill through the roof!
Protecting from rust
To protect the van from rust, we also added a little bit of paint prior to installing the rivnut in order to seal the exposed metal.

Installing the timber
Once the rivnuts were installed and the timber was pre-drilled, we were able to install the timber board.
It’s a tongue and groove system, so we used clamps to push the planks together tightly.
We then threaded our 6mm bolts through the timber into the rivnuts.
Tip: We found doing this by hand helped to ensure there was no resistance and therefore was the best way to reduce the risk of the rivnut spinning and failing.

The first plank up!
Repeating the process
We repeated this step for each board.
For the template, we found that 3 pairs of drill points (or a combination of different pairs) worked across the entire board. Very handy.
To make sure we were drilling (approximately) in a straight line so it would look neat, we drew a squared line on each board and made sure we lined them up every time.

Repeating the process, with a few woopsies here and there
Finishing touches - TBC
The plan is to fill all the holes with a sawdust + glue combo and then sand all the timber boards
To give the ceiling a uniform look, we might use a limewash.
Then, we’ll use Osmo oil (a personal fav) to seal the wood.
Watch this space.
(These steps will have to be finished when the electrical, fan, and insulation are installed.)
We weren’t lying, it got complicated.
But we got there in the end.
We know there is a reason why things are built in a certain way (ie. doing the electrical first).
Our way wasn’t ideal, but if we didn’t get cracking, we’d be waiting until August to do anything!
What we Would Change next time
Skip the tongue and groove: We realised that if there is ever a problem in the roof, or behind one of the boards, it’s going to be quite challenging to remove one or several of the boards. I’t spretty standard to use tongue and groove, but from here on, we are going to try make everything relatively removeable (where possible). A lot of problems seem to crop up in van life, so this could be one strategy to ease the frustration of that.
Consider using plusnuts: Plusnuts are bigger and reportedly have a better grip on the blind side of the surface material, so are often used in more robust situations. They are also reportedly more resistant to alignment imperfections, which are really the downfall of rivnuts. Something to consider for next time.
Use a cheaper option: Recycled wood, as great as it is, comes with a hefty price tag – almost quadruple that of the hardware store pine lining board. The costs of our van build is adding up at an alarming rate, so using cheaper options could help that.
Although there are cheaper options, we have zero regrets - you just can’t beat recycled timber.
Despite the complexity of this ceiling install, the result is awesome.
There is just something special about old timber.
The natural vibe of the timber, the history, and what it brings to the living space. It’s kind of a reminder of the adventure that is just beyond, in the wilderness.
Now, just to wait for that electrical to come through.
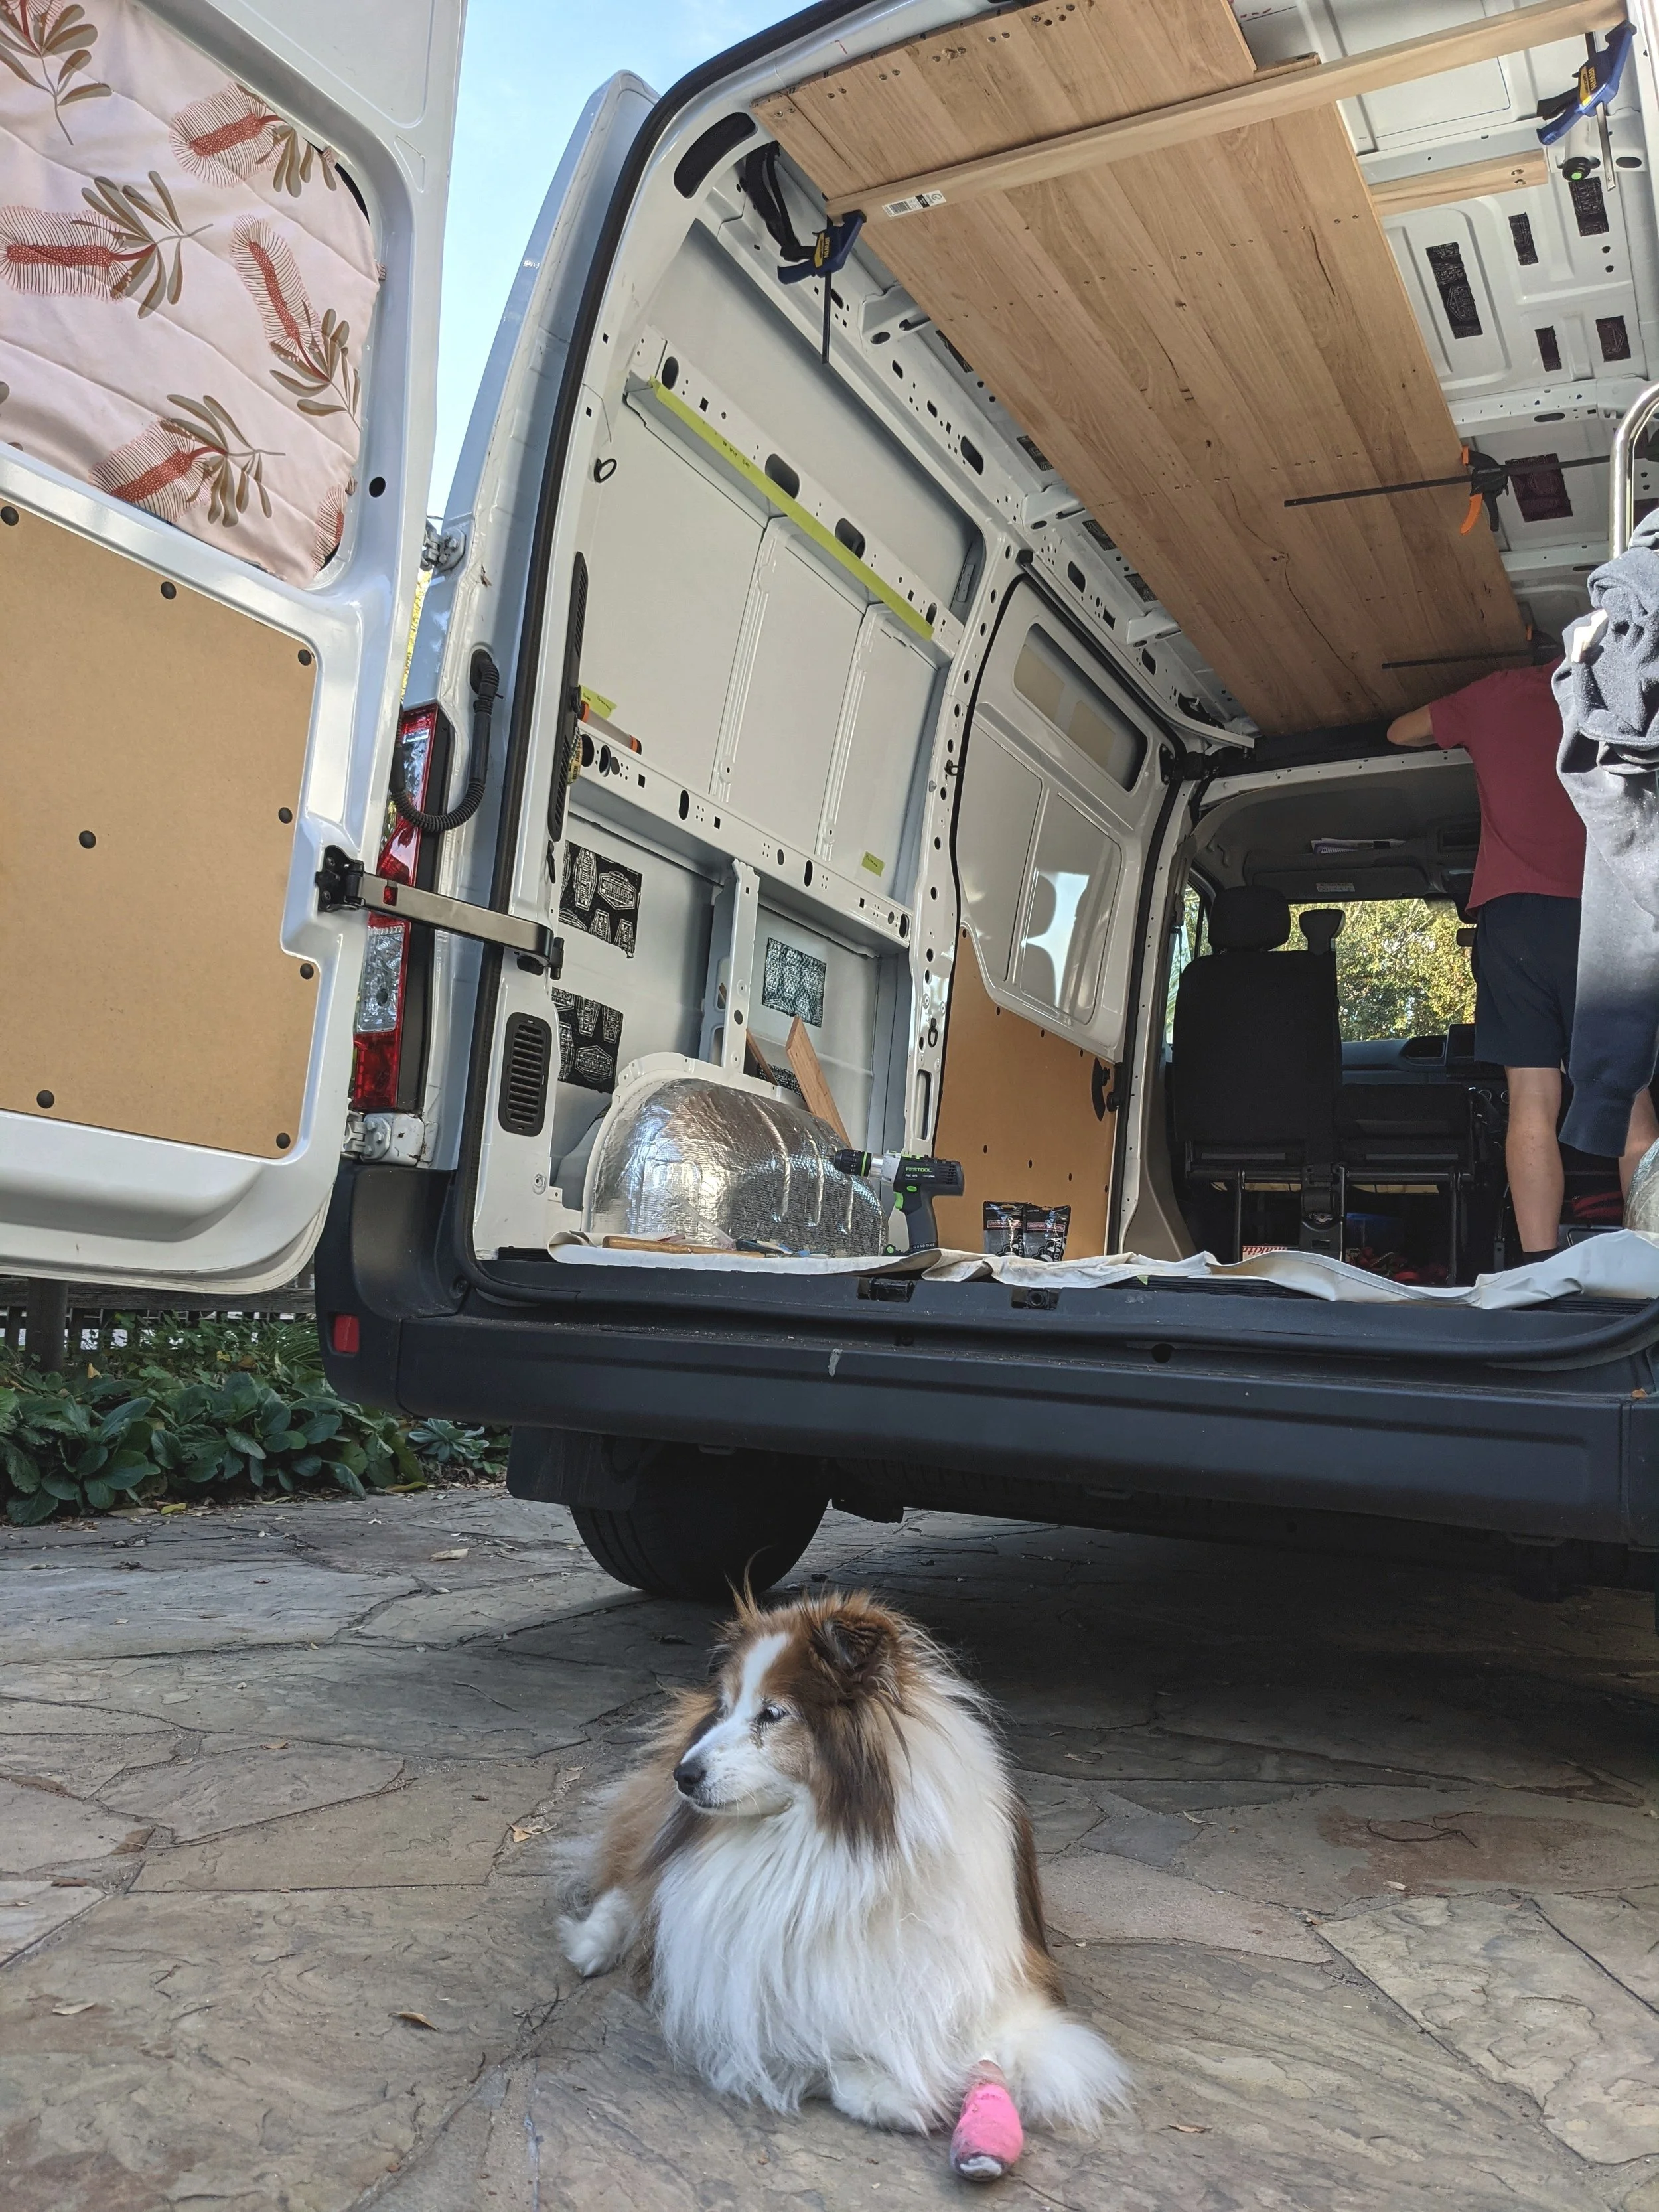
Building with a puppy - nothing better!
Total costs
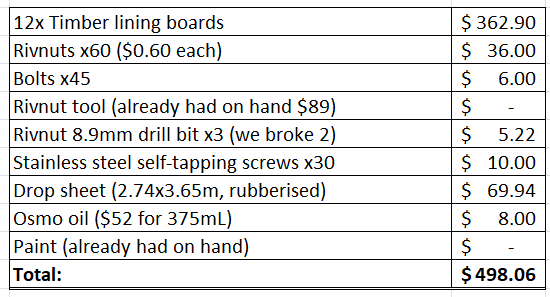
Ceiling costs