Installing A Subfloor In A Van
The subfloor is the foundation of a van build.
Because the subfloor is so important, we started with some goals for ours:
1. Preserve as much height in the van as possible (because Peter is two-metres tall)
2. Ensure the subfloor is structurally sound and well secured
3. Futureproof the floor against water damage and mould
These goals helped guide our decision-making on what subfloor to install and how to install it.
Once we had a clearer picture of what we wanted, we chatted to a few of our “van consultants” (aka friends and family) about the installation, and they helped answer a few questions we had:
What is a subfloor?
The subfloor is the foundation of a project. It lies between the metal floor of the van and the final “finished floor”. It has to be structural and solid but doesn’t have to be pretty since it will be hidden by the finished floor choice.
Do you really need a subfloor in a van?
Yep, you need a subfloor in a van. A subfloor provides a solid foundation upon which everything else in the van is built. This is not one to miss, even if you are trying to save height, weight, or costs in the van build.
Is a 9mm Subfloor too thin?
Yes, it probably is. It’s better to use a thicker subfloor according to builders/chippies — at least 15mm — especially if installing a finishing floor like vinyl or hybrid flooring. A thicker floor help “grip” screws better when installing cabinetry and to avoid bowing or creaky floors over time.
What is the best material for a van subfloor?
There are a couple options:
Structural/Non-structural plywood
Plywood is commonly used in construction as it’s durable and easy to work with.
We ended up choosing this option, using three sheets of 15mm Ecoply from Bunnings. Although the 15mm is heavier and a bit more expensive than a 9 or 12mm, we thought it struck a good balance between structural stability and saving height. Ecoply is apparently grown sustainably in Australia and has a low formaldehyde emission rating.
Marine plywood
A high grade plywood used for marine construction. It’s more durable and won’t delaminate under high temperatures or exposure to water, and the quality is strictly regulated.
We didn’t go for this as it’s way more expensive and the extra features didn’t seem necessary for us.
OSB (Oriented Strand Board)
A manufactured wood product made up of strands of wood set at various angles mixed with a resin glue. Apparently, the whole tree can be used to manufacture this product, including knotty and deformed trees.
We didn’t opt for this as it can apparently be susceptible to moisture issues.
Structaflor
A particle board with in-built tongue and groove joins to help fit the boards together seamlessly.
Whilst particle board/MDF is cheaper, we were advised against using these as they are a bit more susceptible to moisture issues over time.
Form ply
Form ply is a structural plywood with a laminated veneer. It comes in different colours, and is often used as the finishing face of a project.
We didn’t go for this as the laminate can be slippery, so we weren’t sure how it would go on the floor. But we’ve seen it used in cabinetry and it looks great.
Birch plywood
Some people use birch plywood as a two-for-one material. When sealed well, it can be used as both the subfloor and the finished floor as it’s a durable and pretty wood type.
We didn’t choose this as we wanted something a bit more durable and water resistant, and it’s quite expensive.
How To Install A Subfloor
There are a myriad of different ways to go about a van subfloor installation.
Here’s what we did:
1. Cleaning
The first step of the subfloor install is to clean the van.
We gave our van a good scrub, mop, and vacuum to ensure a fresh starting point.
Particularly as we’d been on a few adventures and accumulated dust and mess!
OPTIONAL:
2. Sound deadening
Sound deadening is a soundproofing material that helps dampen noise throughout the van, making the van feel more comfortable and homely.
Some people don’t opt for this because of cost or redundancy.
But we decided to install sound deadening to help reduce road noise and external sounds.

Our sound deadening
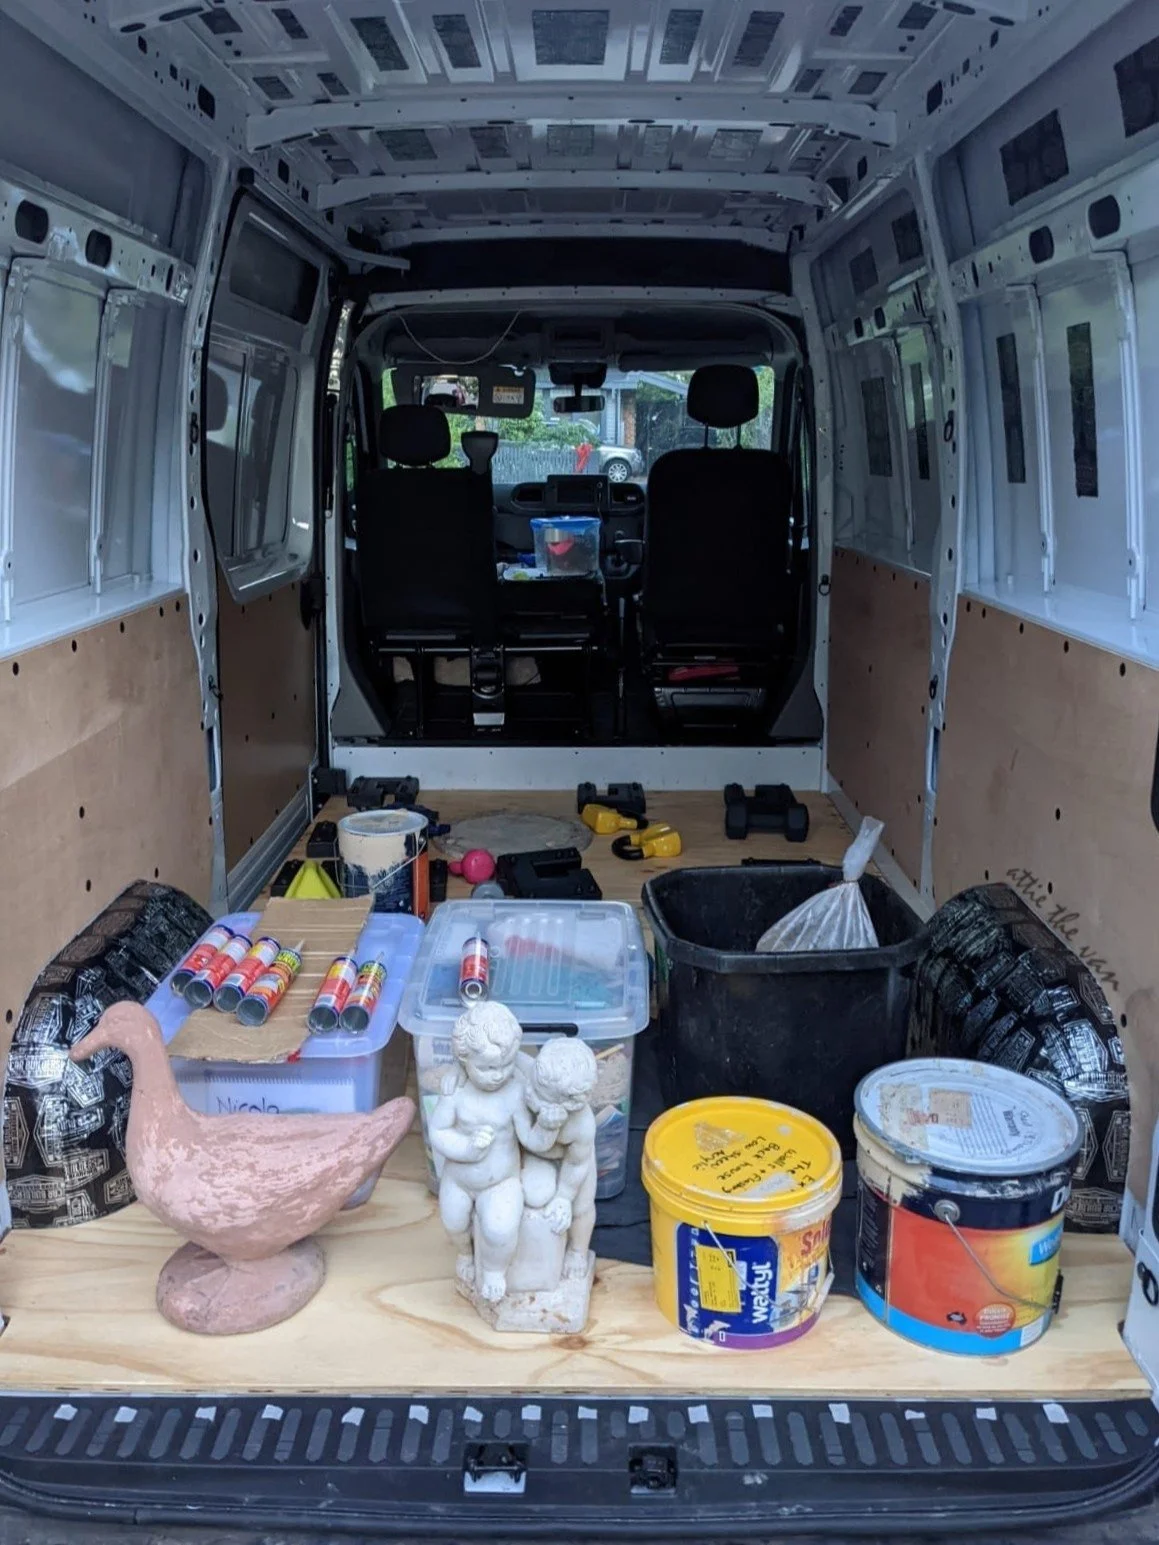
3. Remove Any extraneous attachments
Vans seem to have a lot of extraneous factory fittings, like anchor tiedown points and bolts for the bulkhead.
These are useful for transporting things in the van, but not for the subfloor install!
We made sure to remove any of these factory fitting attachments and double checked the van to ensure we didn’t miss anything.
Note, we obviously didn’t remove any functional or critical parts of the van — just the unessential factory fittings that can be safely removed!
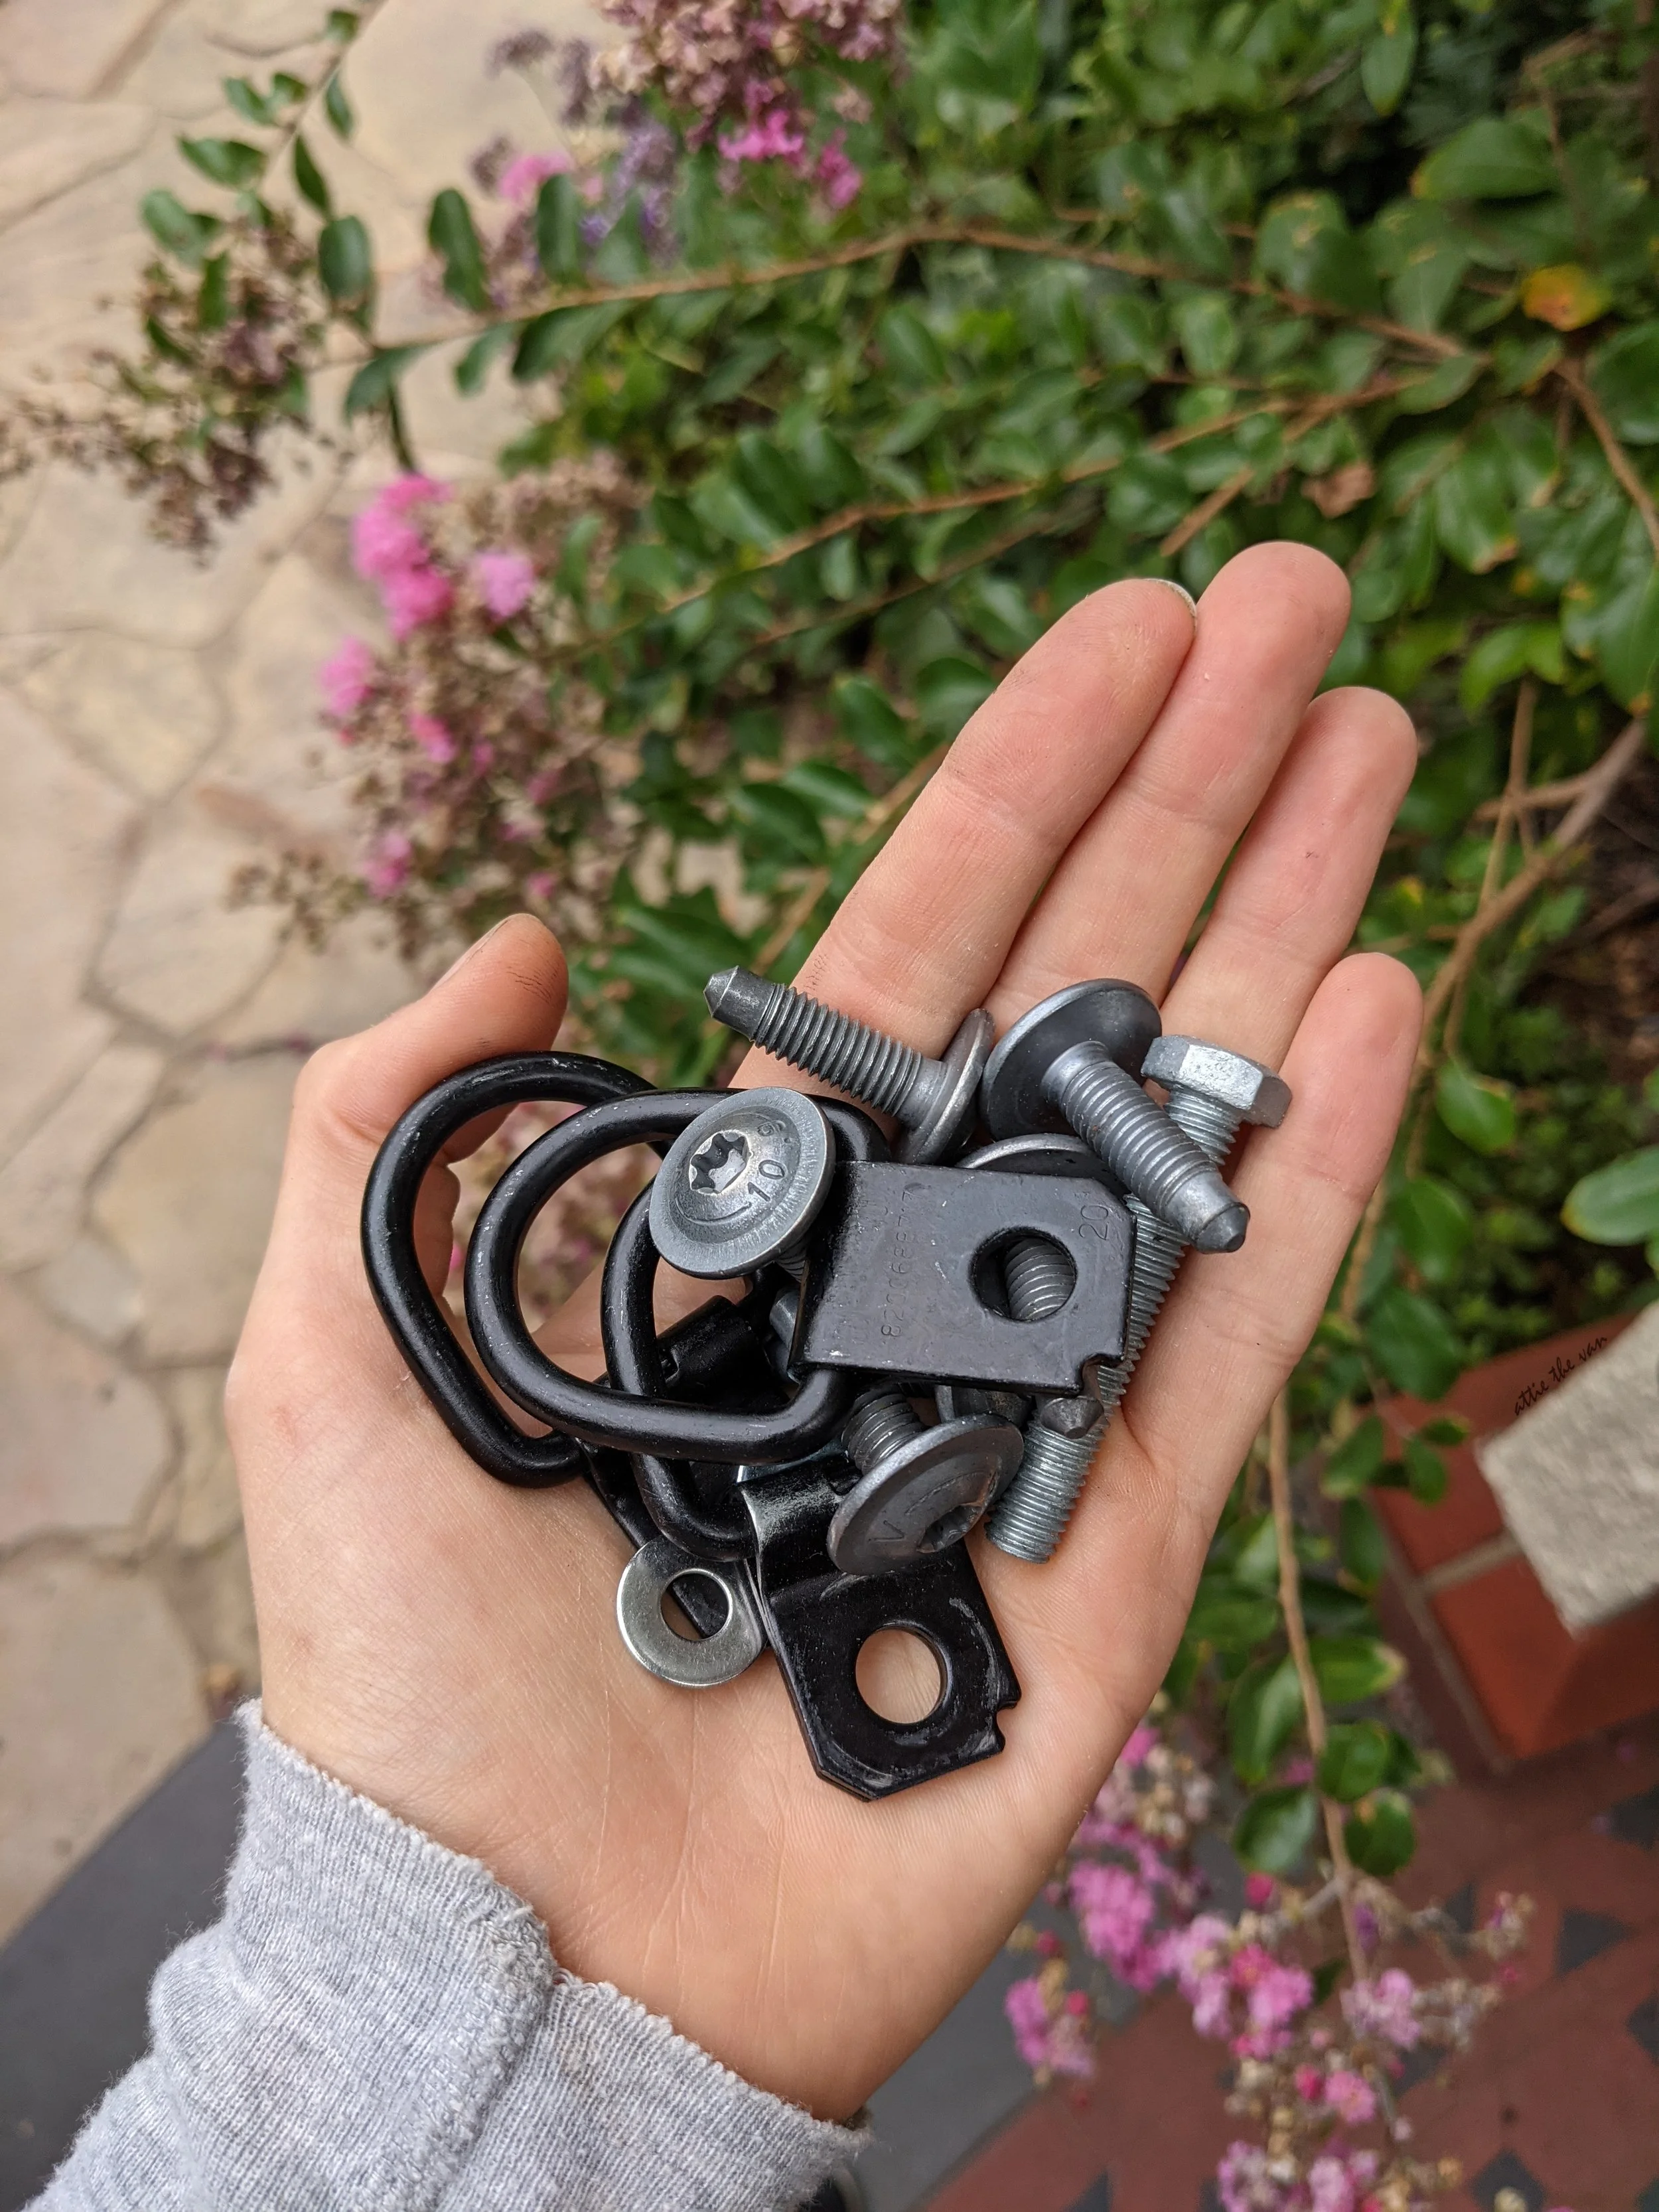
Some of the attachments that we removed from the van before the subfloor install
OPTIONAL:
4. Insulate The Floor
There is a lot of debate about insulation in a van.
Since we wanted to save as much height as possible inside the van for Peter, and we live in Australia, we decided to only use sound deadening and the hybrid floorboards insulation for the floor.
This provides a little protection from heat transfer, but not much.
In the next build, we would probably look into using more insulation for the floor — such as the sheep wool insulation that we used in the rest of the van — because the floor can get a little chilly on the feet in winter.
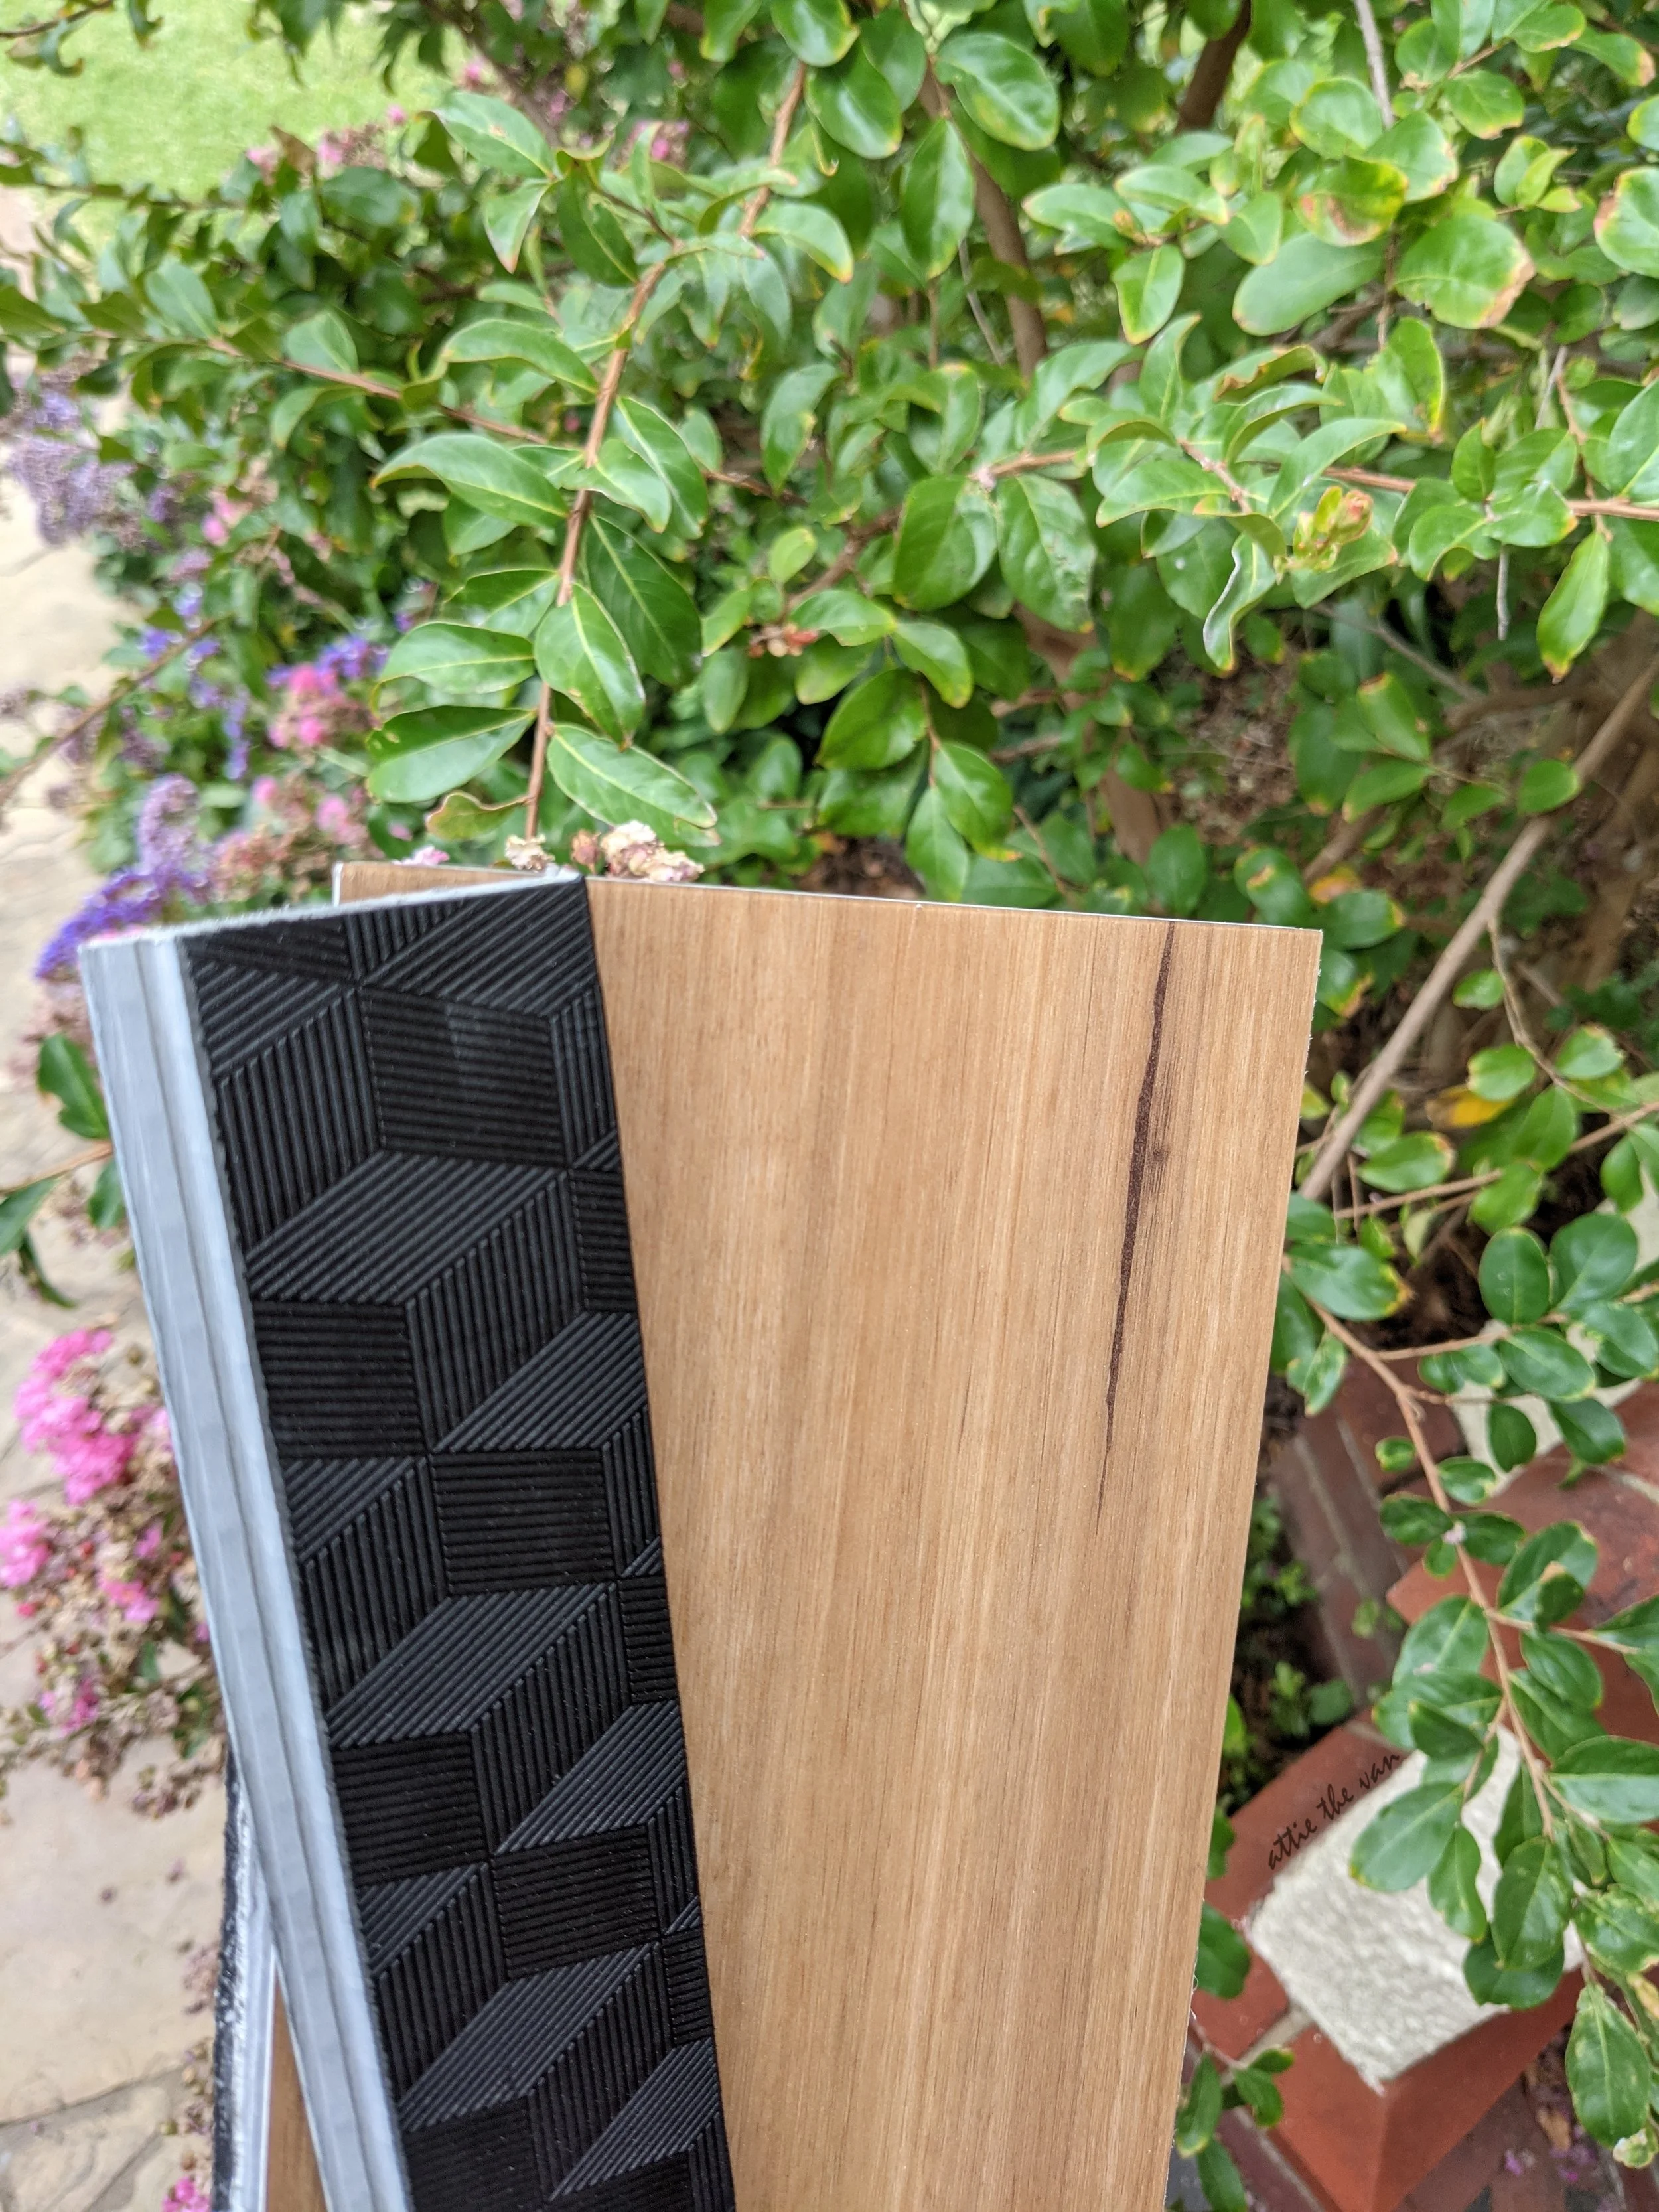
There’s a thin layer of insulation on our hybrid floorboards
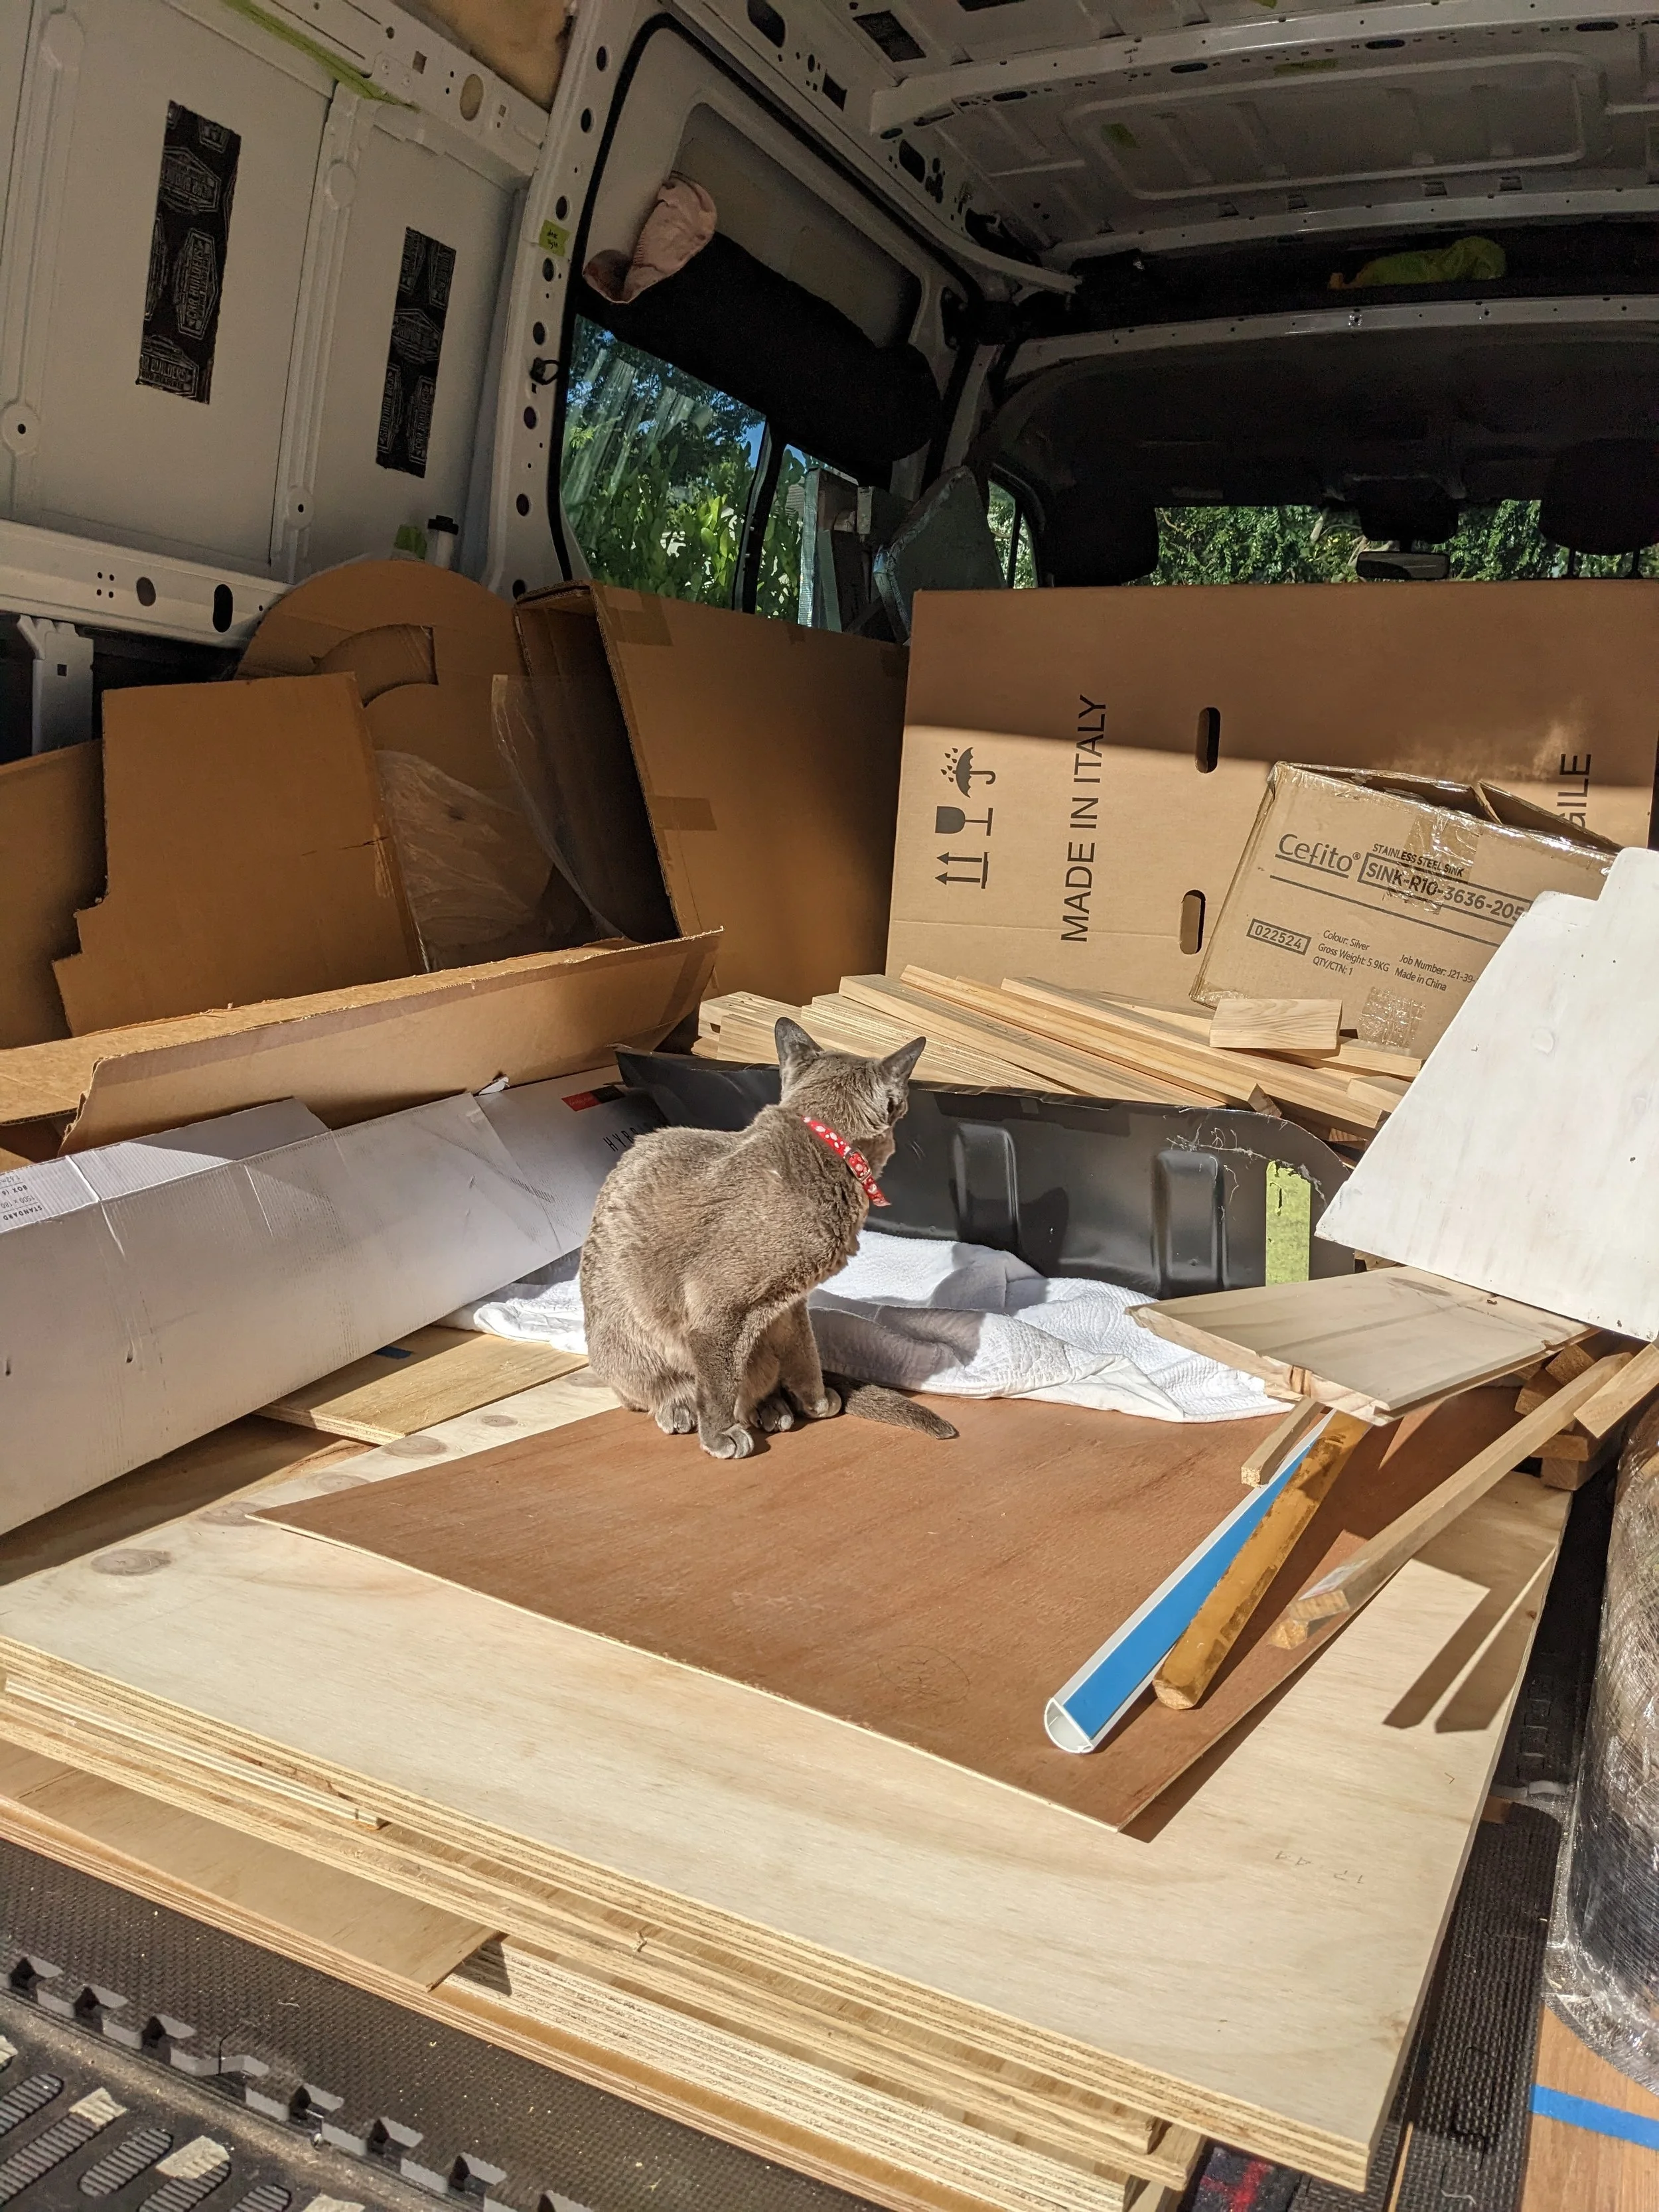
5. Template The Van Floor
The next step was to template the van floor.
This can be time-consuming but it’s important to get right.
We tried using butchers paper, but ended up swapping to cardboard as it was a little easier to manoeuvre.
Note, when templating we left a ~5-10mm gap to the wall to prevent the subfloor squeaking and creaking over time (a tip from one of our consultants).

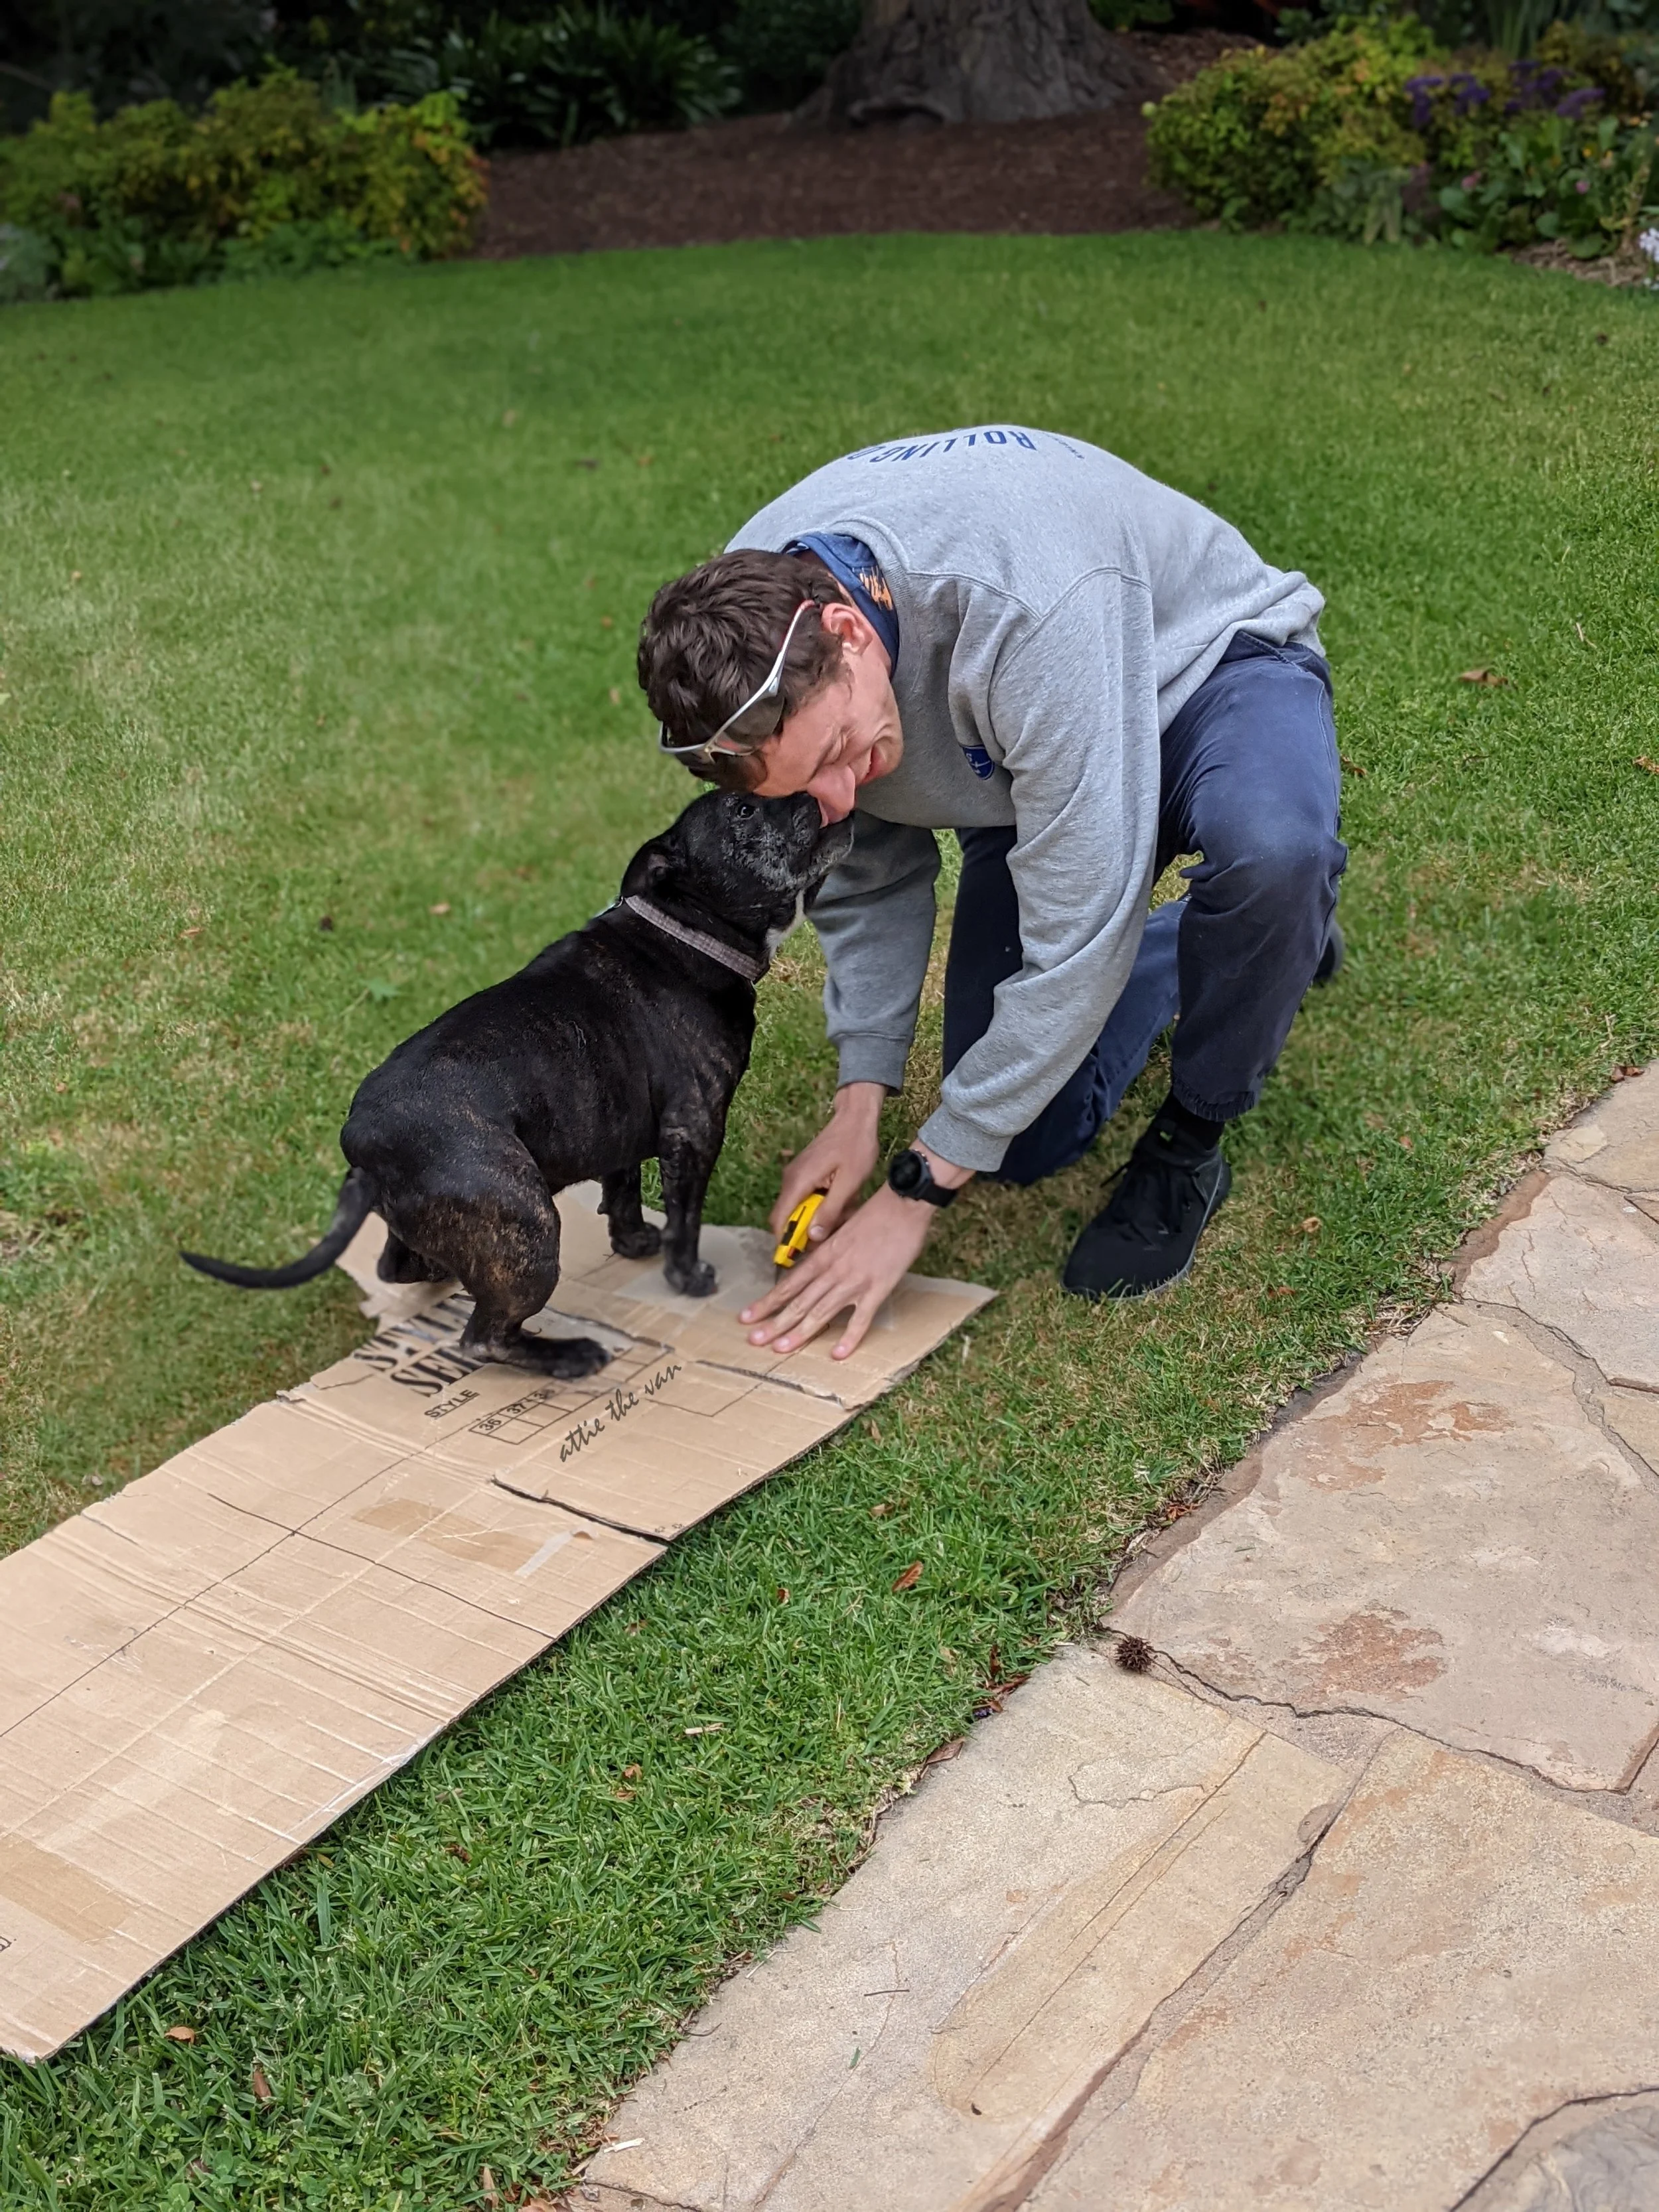
Our helper or a hindrance?
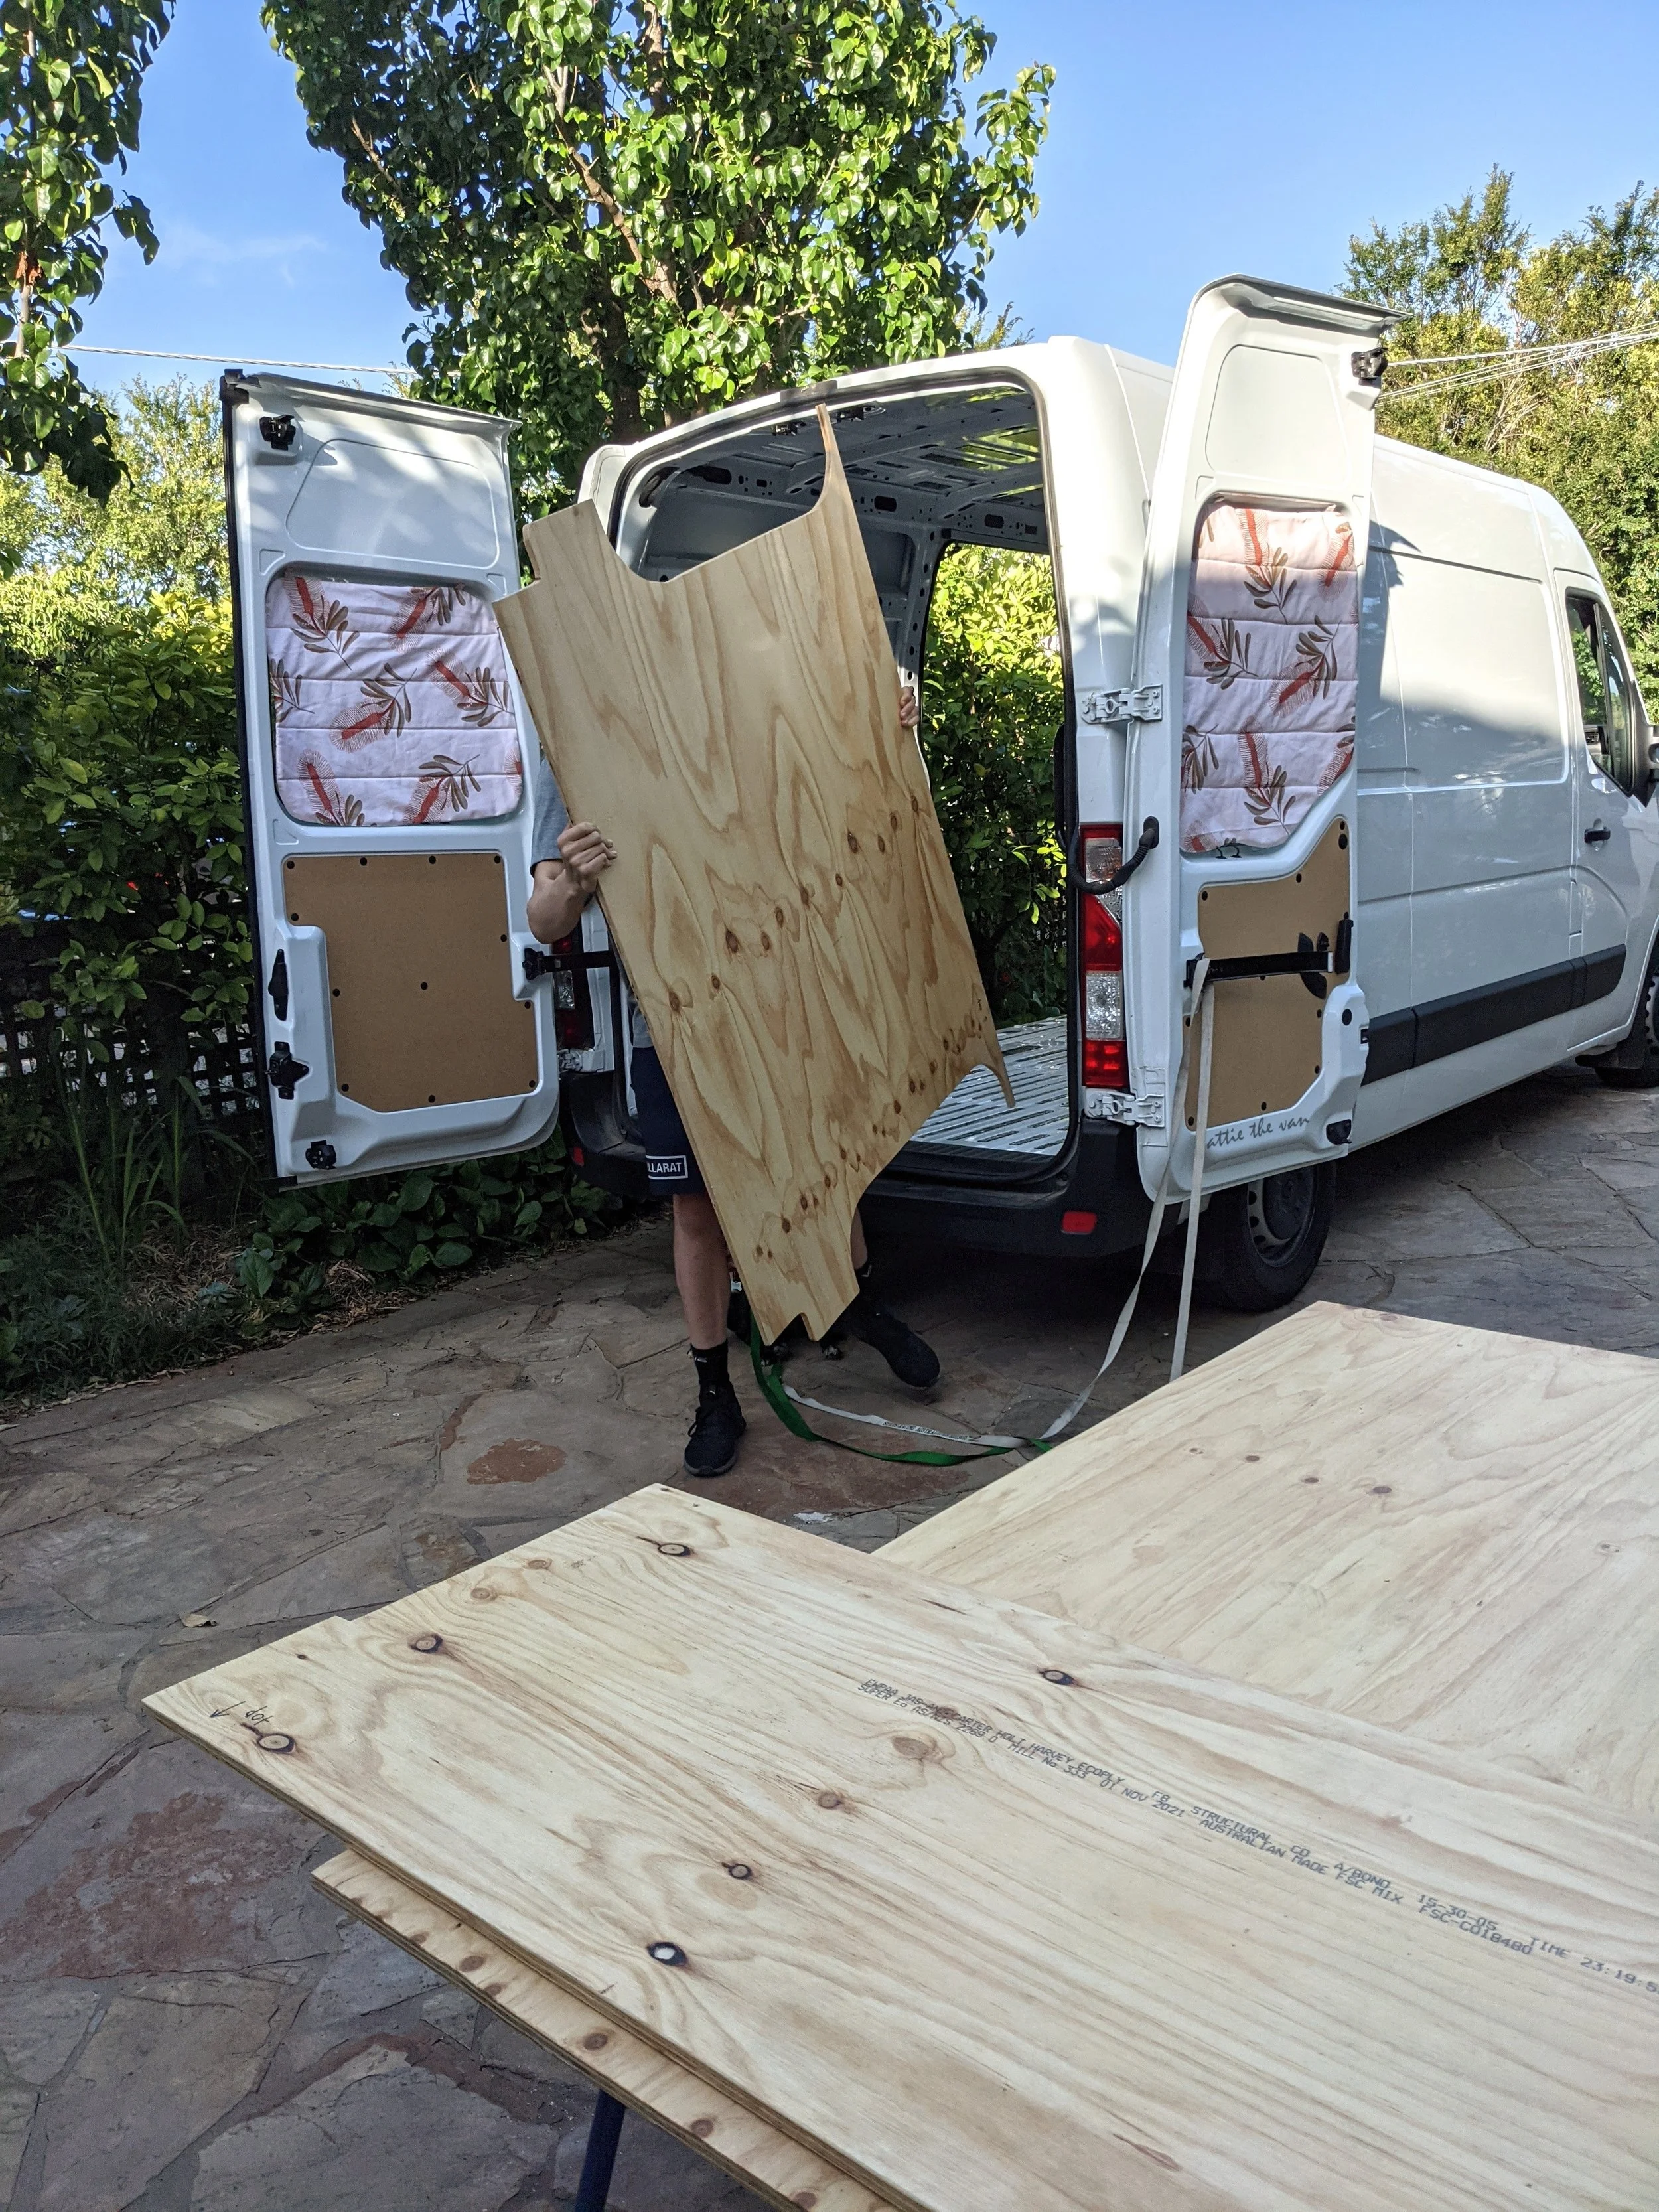
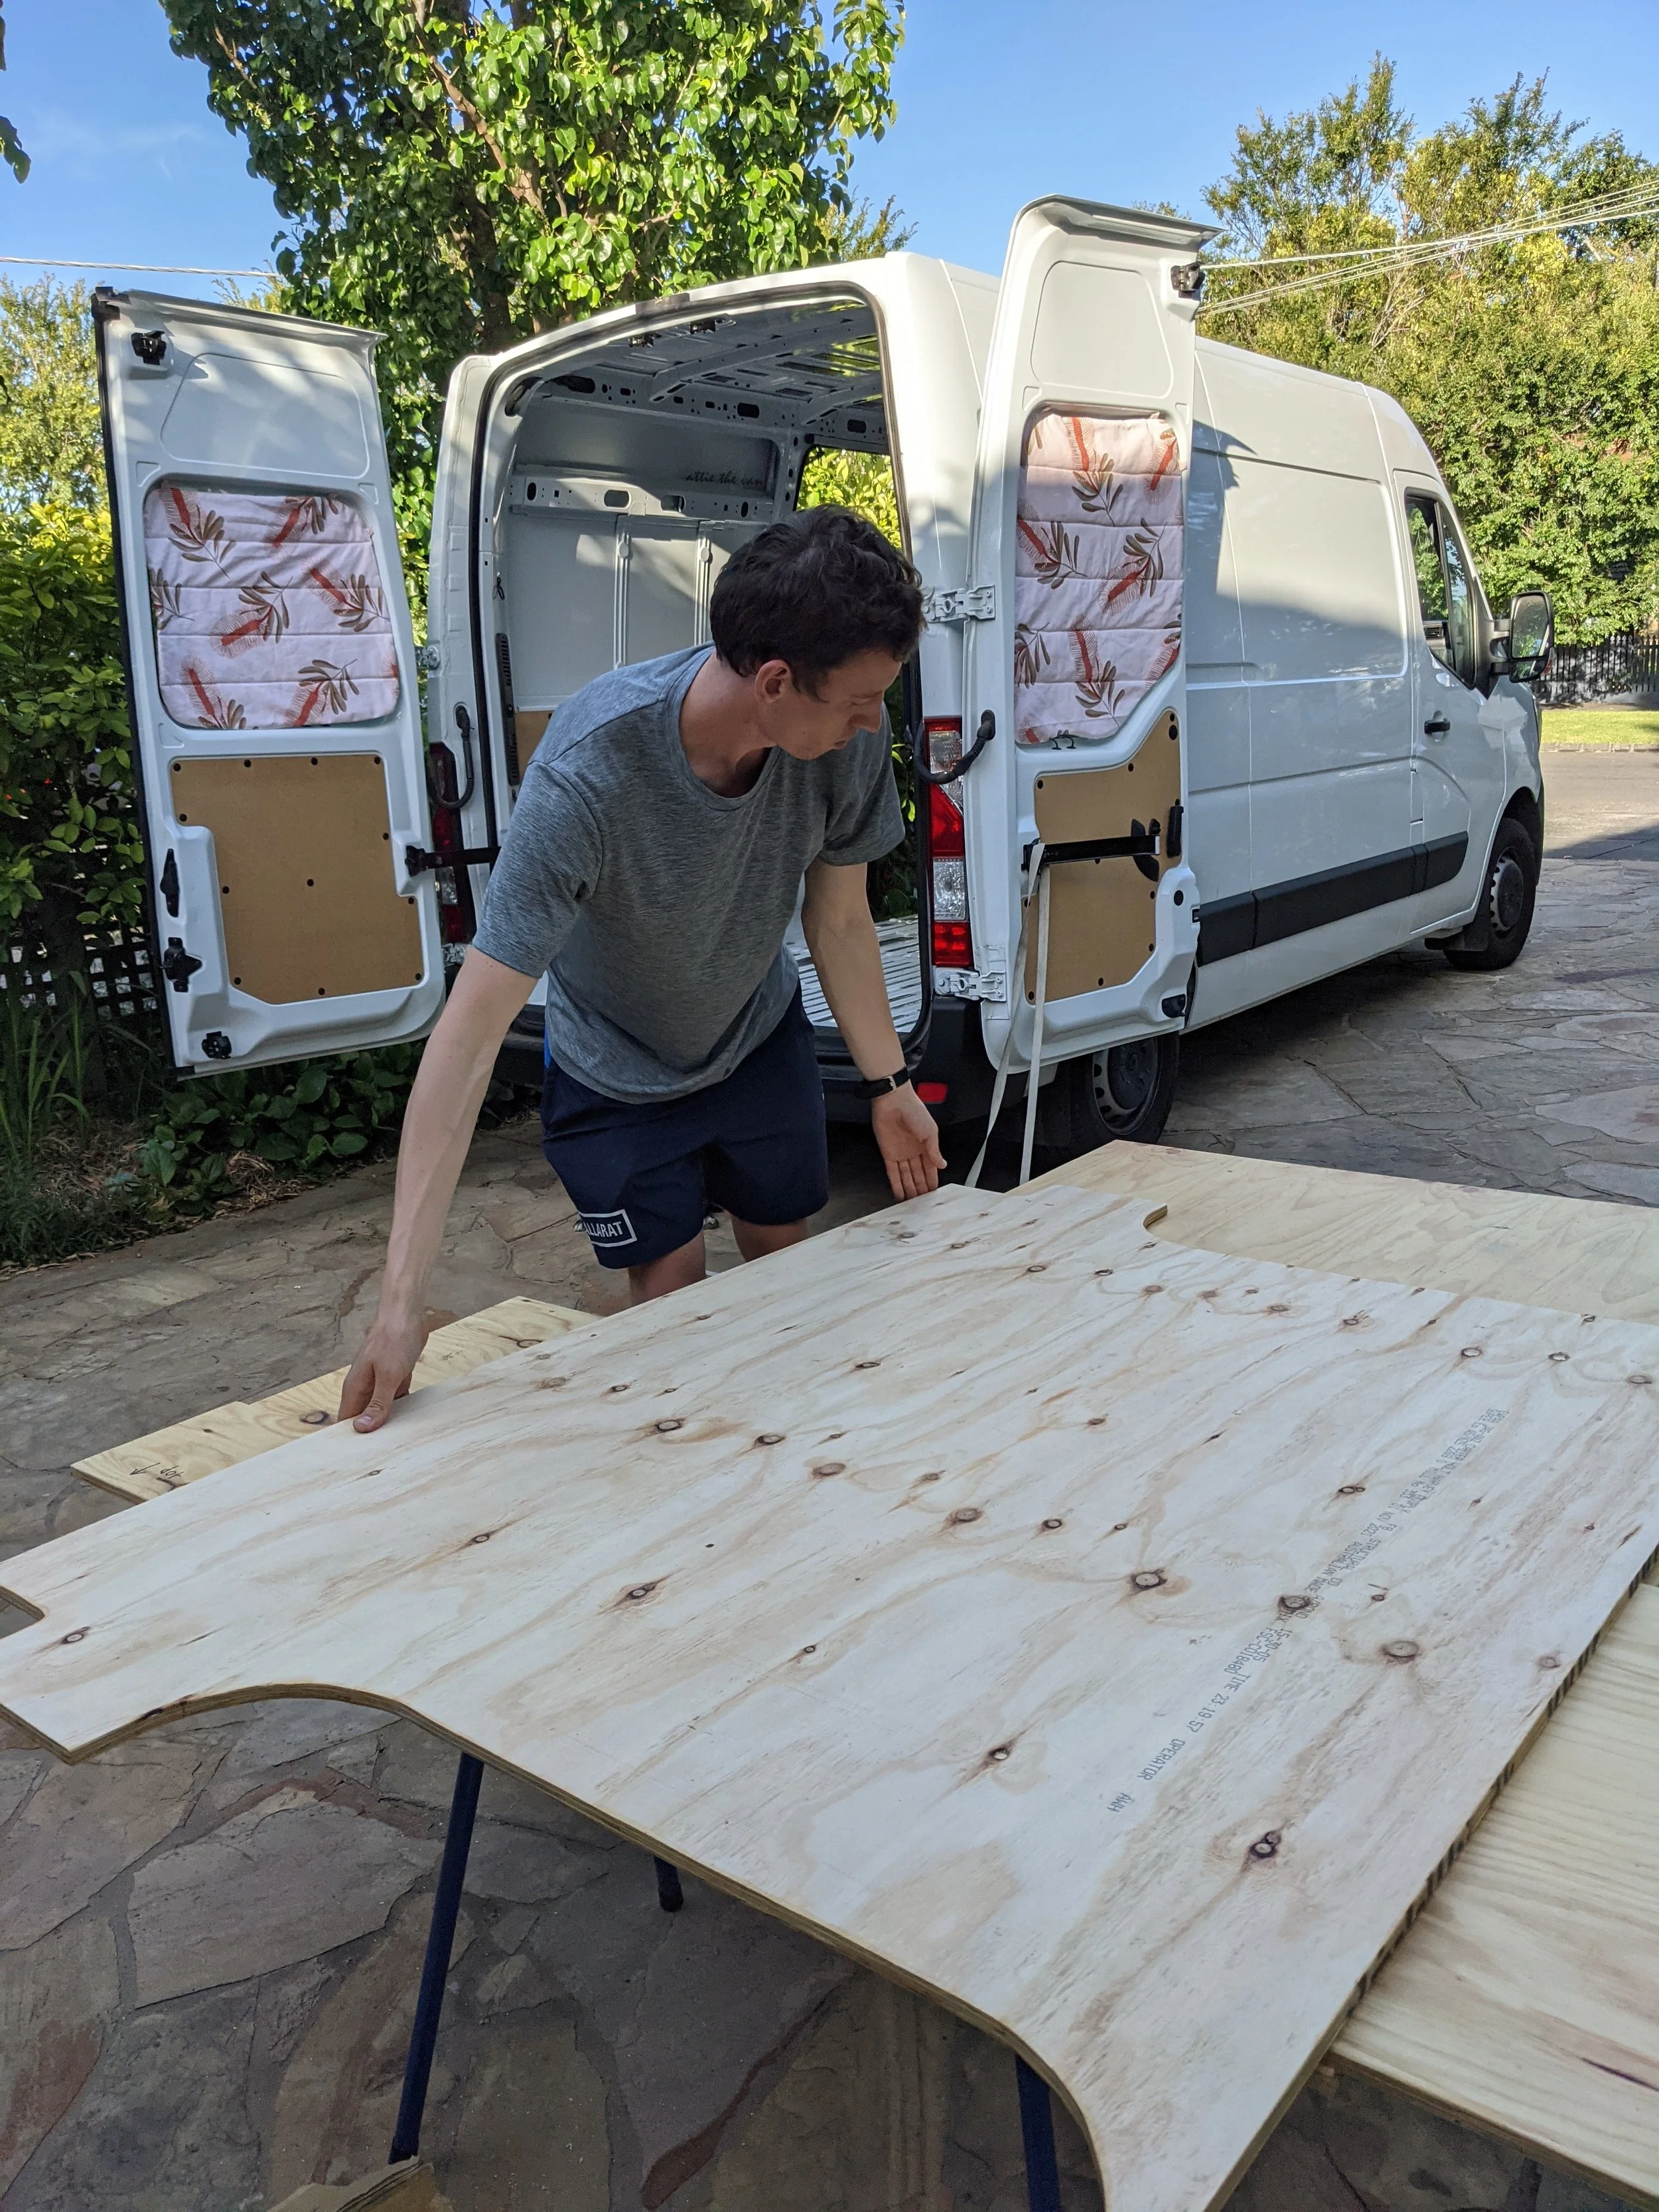
6. Cut The Plywood
We decided to install the plywood planks side-to-side, rather than lengthways.
This was to make sure the gaps between the plywood sheets lay across the van, helping to better support weight distribution when walking on it.
To do this for our Renault Master, we ended up needing three sheets of 2400x1200 plywood.
We transferred the cardboard template across to the plywood.
And then cut it out with a jigsaw/circular saw.
It was a lot of cutting and checking before we got the fit just right.
Tip: Lightly sanding the edges after all the cutting helped prevent splinters.

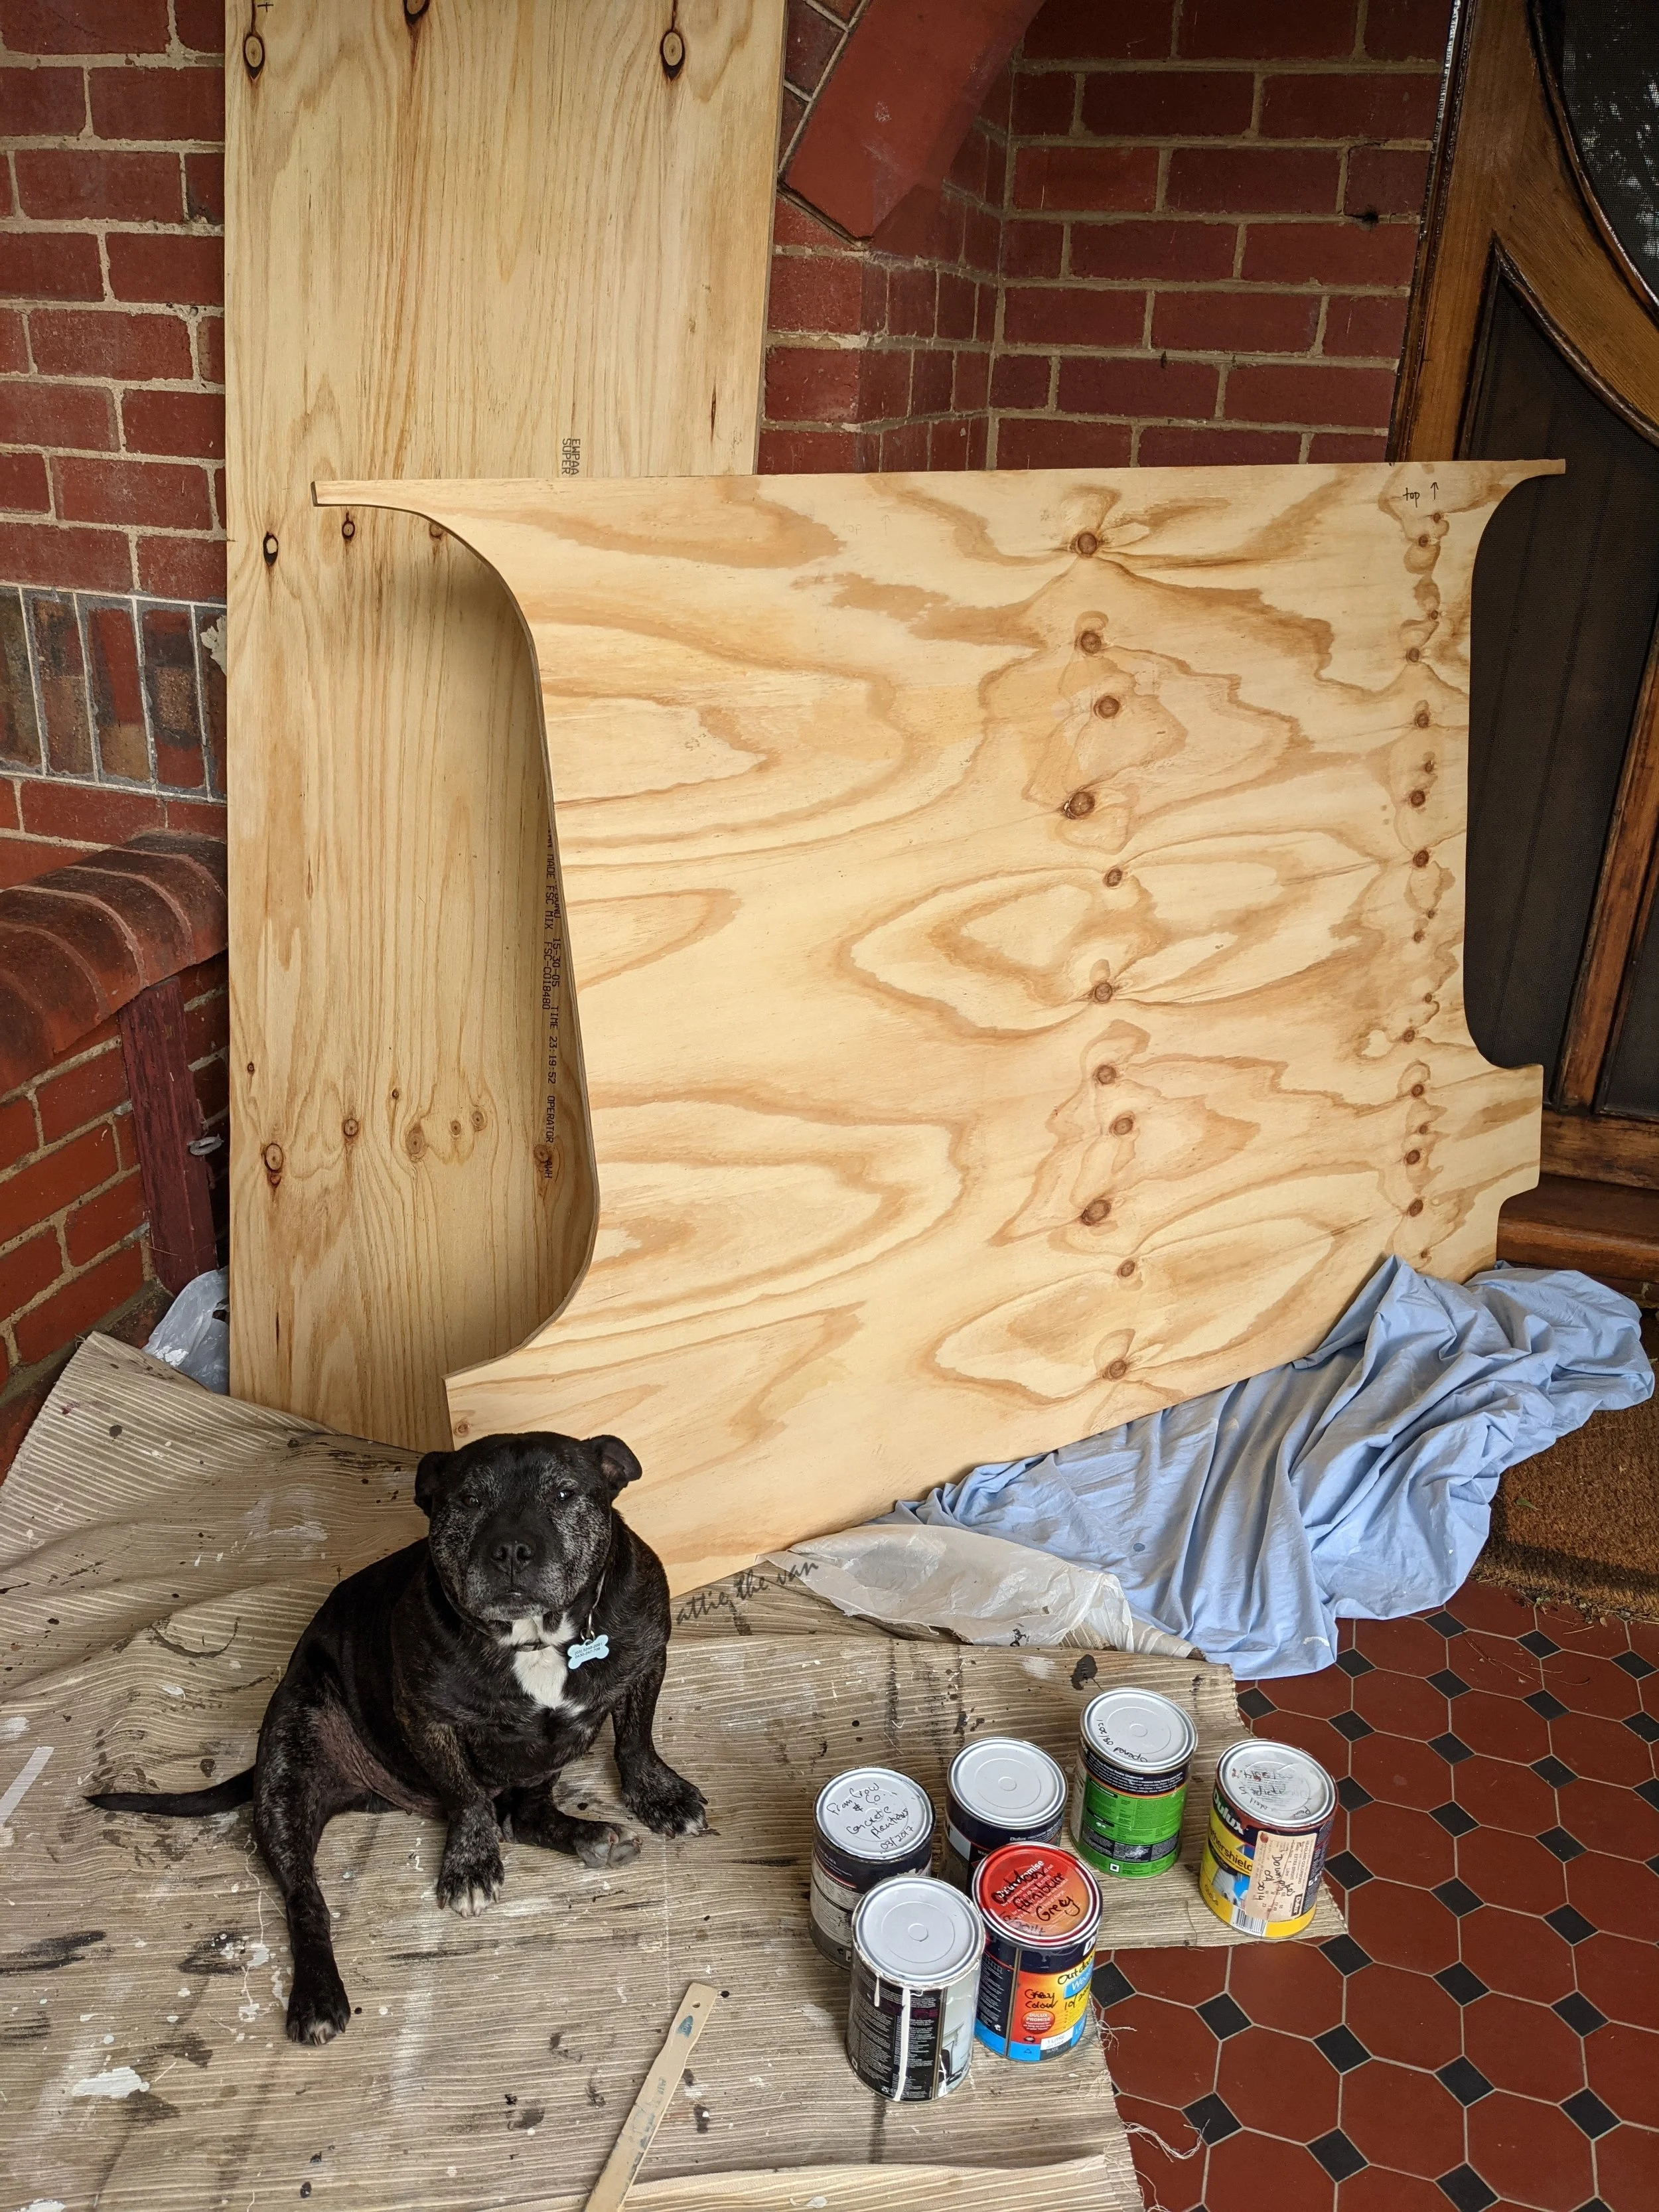
7. Seal The Subfloor
To seal and protect the subfloor, we used polyurethane on the sides and top of the plywood.
The idea is to protect against water damage, and therefore mould and rot.
We didn’t put the poly on the bottom of the plywood as we weren’t sure how the glue would interact with the polyurethane when we stuck the subfloor down in the van (we even called Liquid Nails to try find out, but they weren’t sure either).
Polyurethane needs at least seven days to cure, and should have good ventilation during this period — we made the mistake of installing it too soon and the van was filled with a toxic smell for days.
8. Install The Subfloor
Now the fun part.
We put Selleys Heavy Duty “Liquid Nails” — eight tubes of it— on each floor rib and on the bottom of the plywood.
Note, the temperature and strength rating of the glue is critical because it can get upwards of 65 degrees inside the van on a hot day.
We then carefully laid down each our three sheets of plywood, making sure to maintain the 5-10mm gap between the plywood and the wall, glueing each sheet to each other as we went.
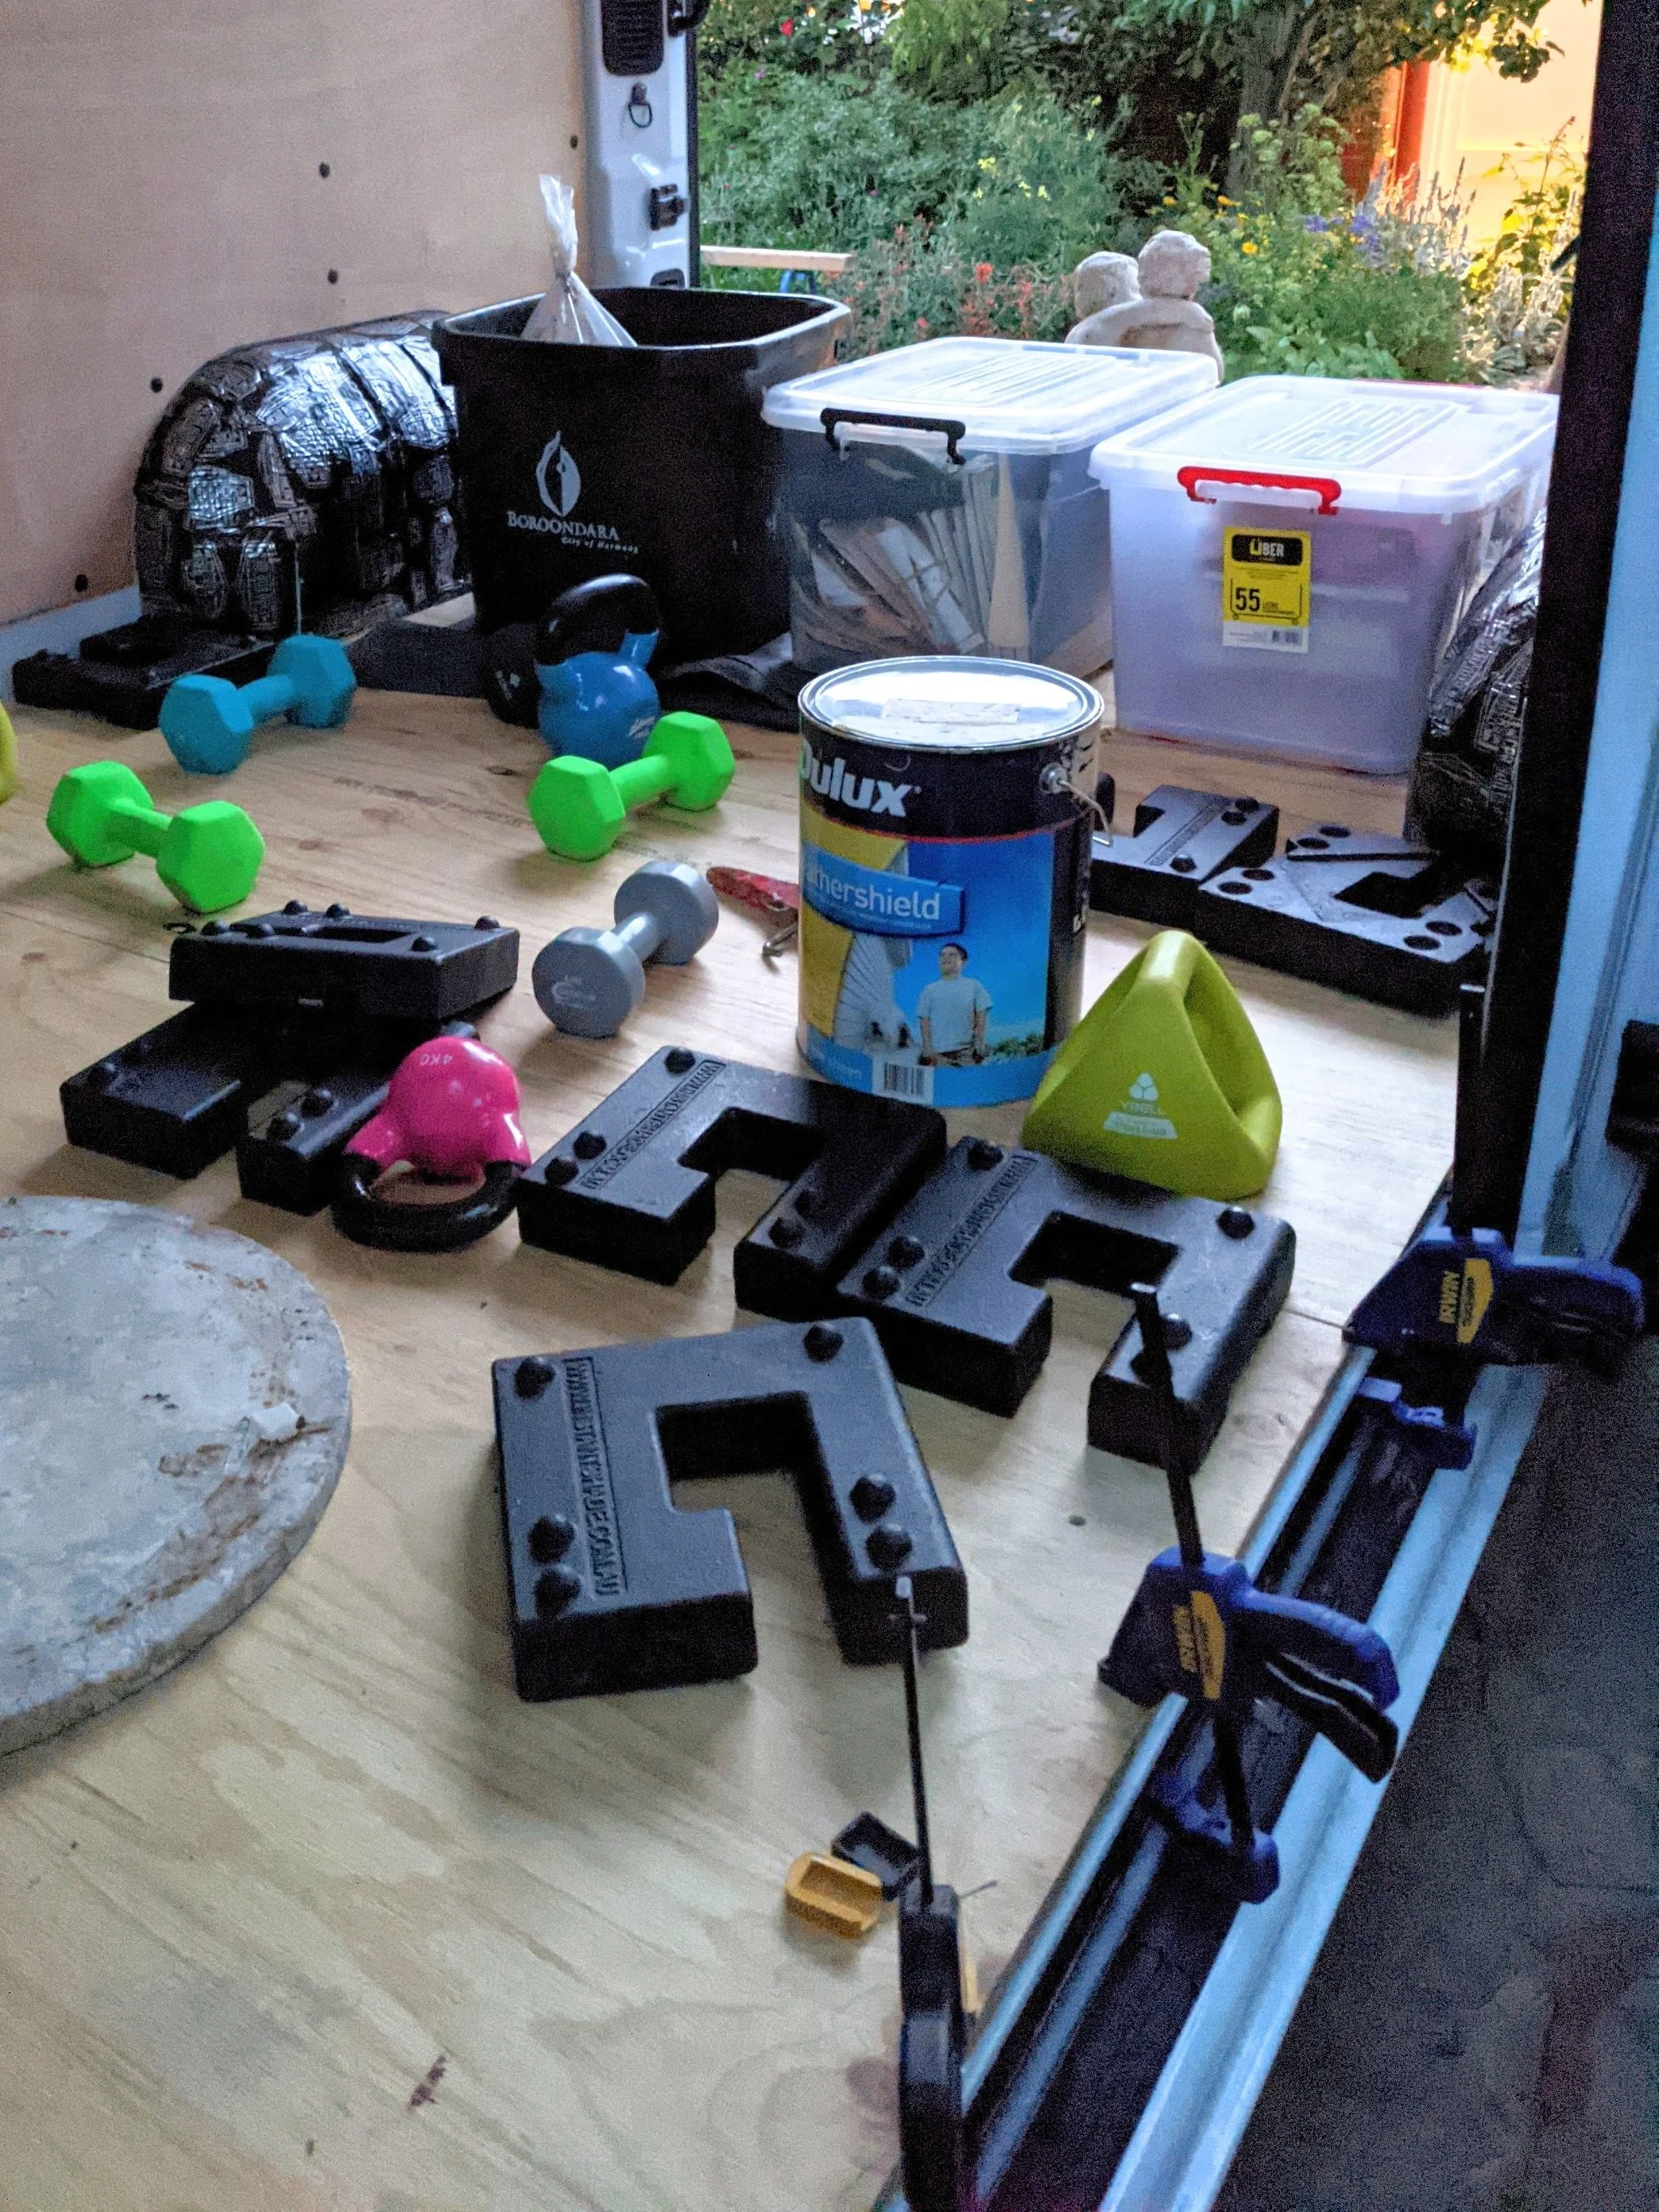
Then we weighted it all down with as many weights as we could find around the house, and then other heavy stuff too.
And left it for 24 hours+.

Cut, check, repeat
9. Secure The Subfloor
To avoid getting crushed by the floor if we ever crashed, we decided to bolt the subfloor down in places.
We ended up just using the six bolt holes from the anchor points we removed (in step 2).
We drilled the holes in the subfloor for the bolts, but we didn’t install them until we laid our hybrid flooring down.
In this way, we have bolts securing both the subfloor and finished floor.
Note, we had to source some longer bolts for this — we got high tensile zinc-plated bolts from The Fastener Factory in Oakleigh.
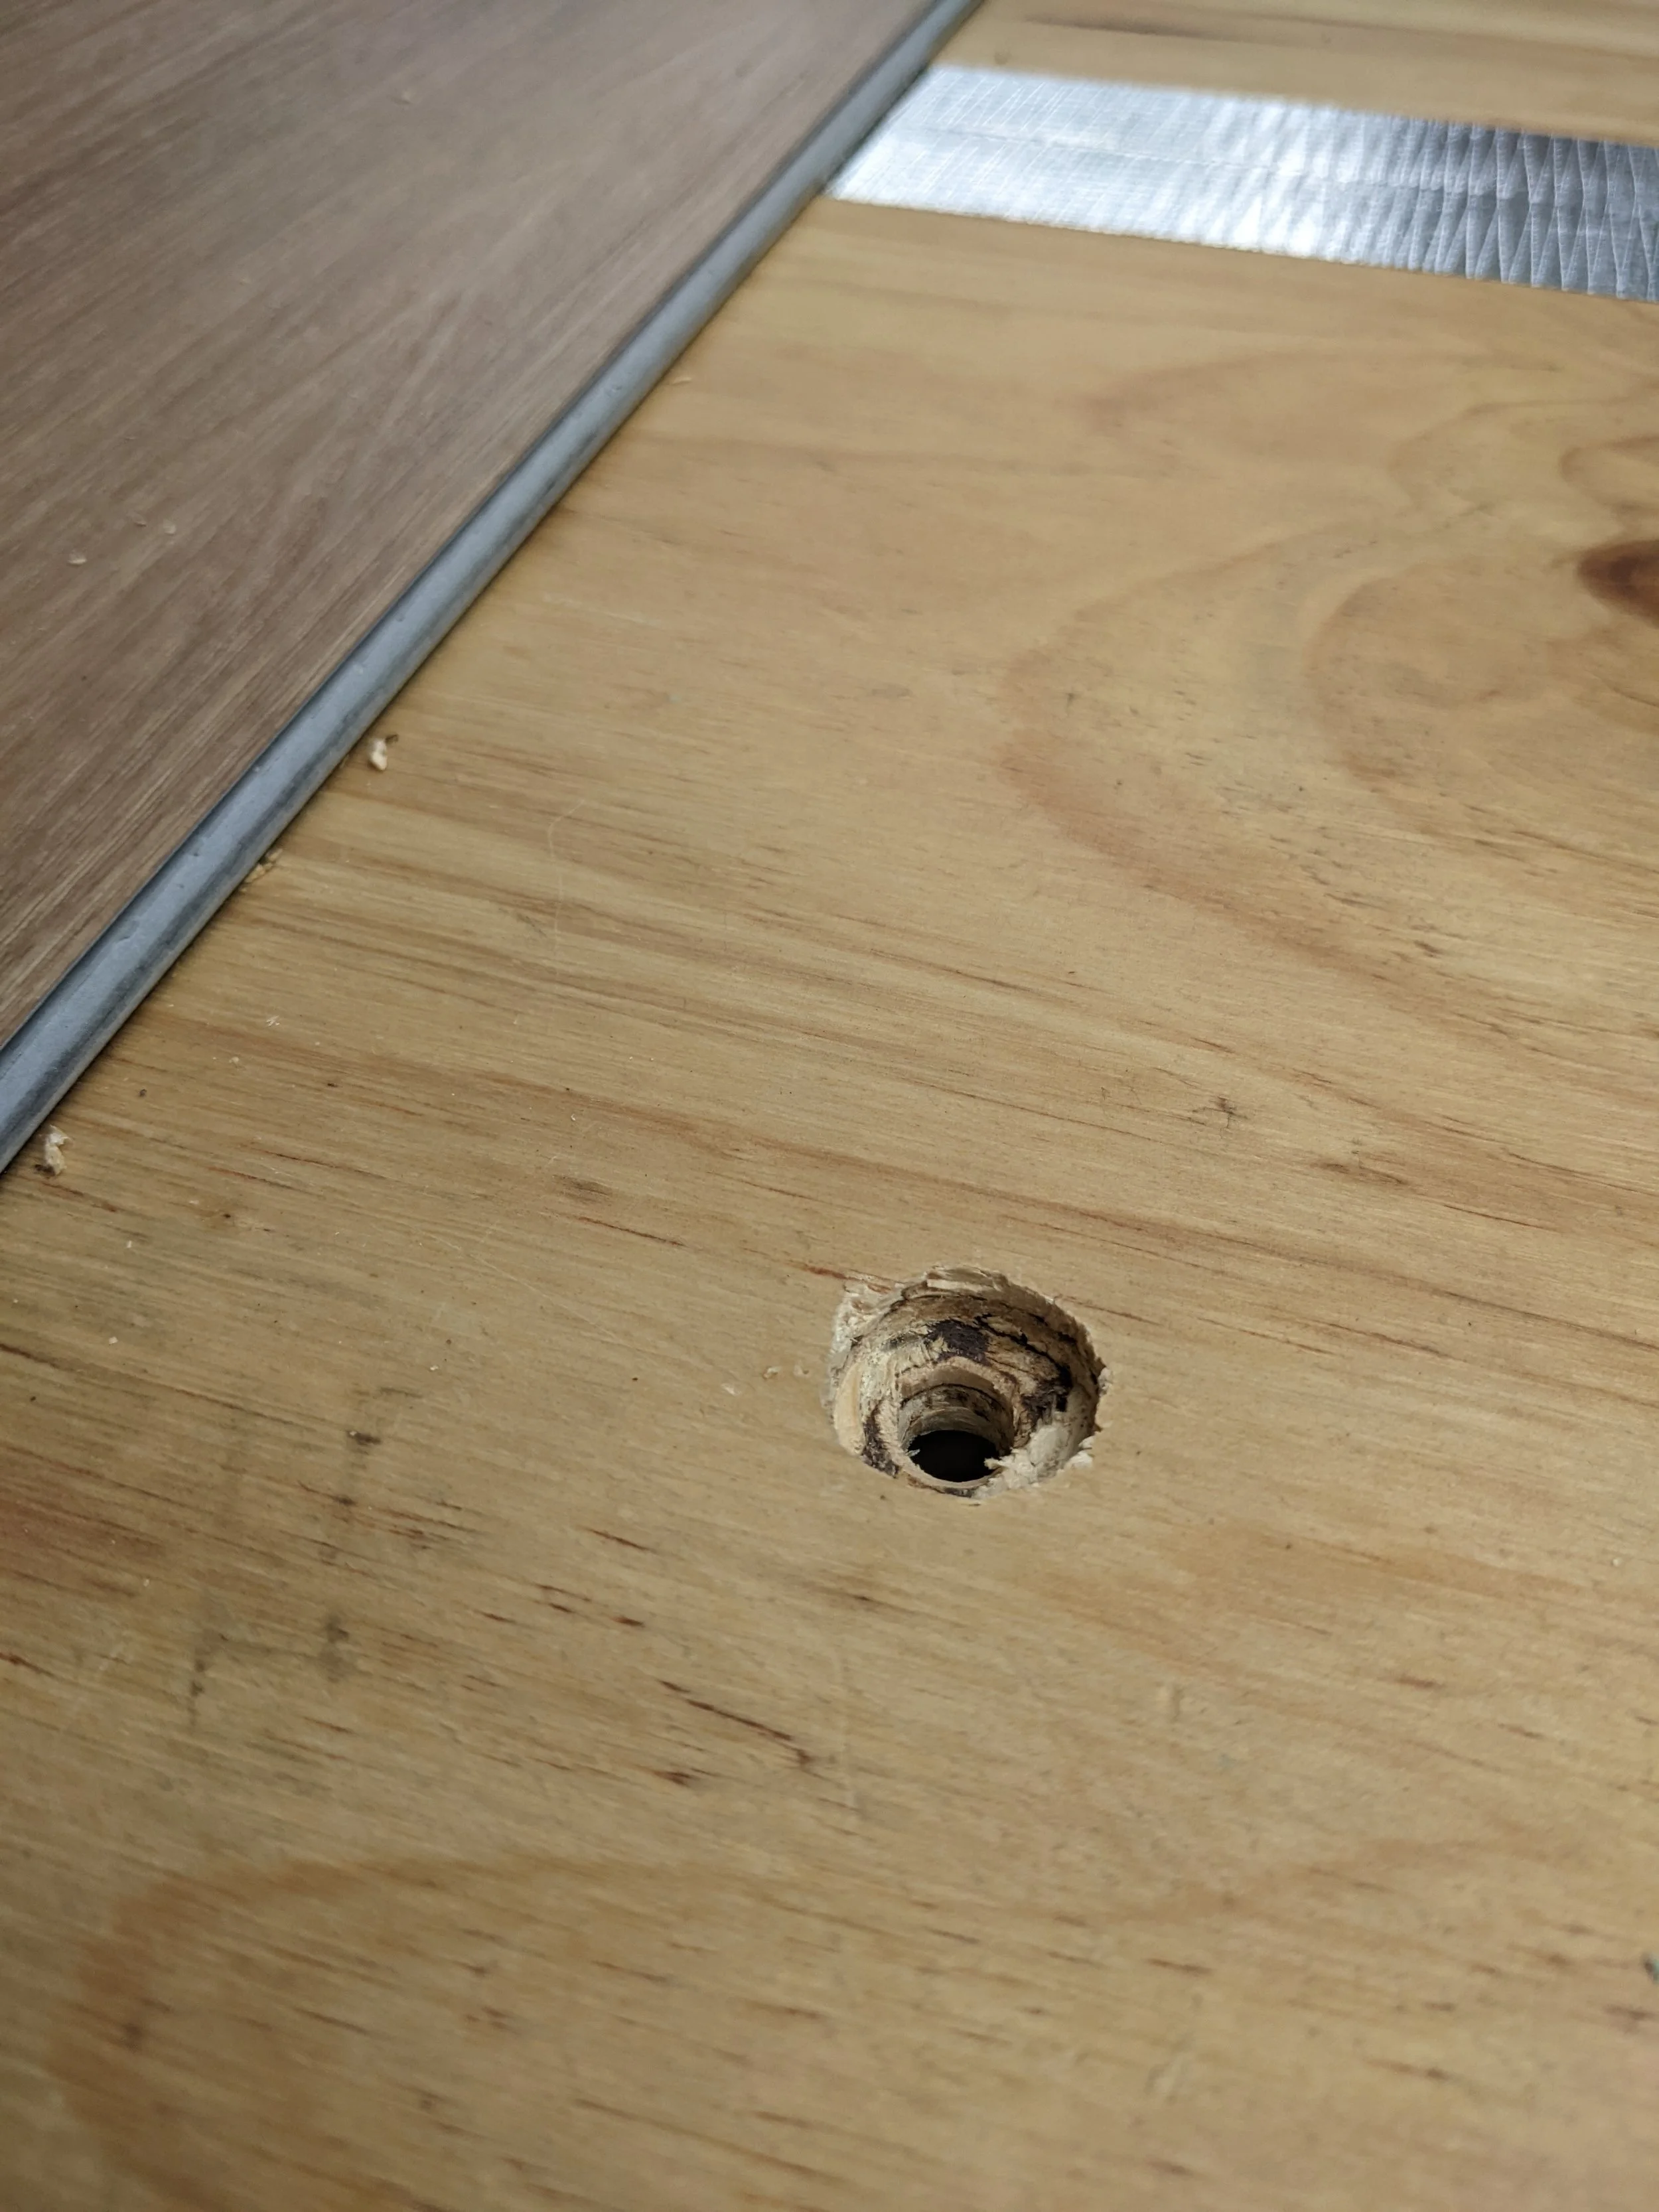
Pilot hole for bolt in subfloor

Bolt in place to secure hybrid flooring and subfloor
10. Final touches
To seal it all off, we caulked around the edges of the subfloor.
And it was job done!

BEFORE

AFTER
Until We realised the subfloor wasn’t level in one section.
Can you spot the mistake? Oops.
So we spent about an hour sanding it down.
This was a frustrating but critical correction because the floorboards would have been angled and creaked otherwise.
We then we had to reseal that section.
A lesson learnt!
We decided to run some Ametalin Insulation tape over the joins between the subfloor sheets for extra protection to cover the gaps.
Job done!


How Much Does A van Subfloor Cost?
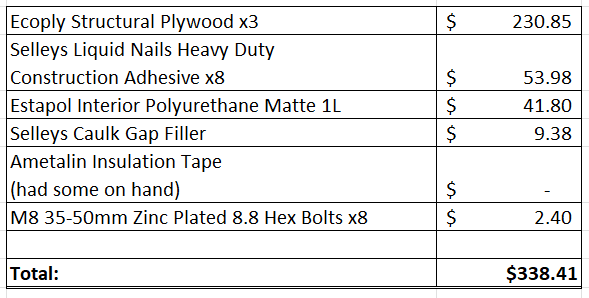
A subfloor is a worthwhile investment to create the base for the rest of the build. We spent $338.41 in total, and feel it was worth every cent.
Here’s a breakdown of what we spent:
Whilst it doesn’t seem like a big task, the subfloor can be a huge undertaking!
Ours may not be perfect, but we love it.